Activité manuelle Pokémon avec les marque-pages rigolos ! Salut les amis créatifs ! Aujourd’hui, je vous propose de transformer de simples feuilles de papier en adorables marque-pages Pokémon qui vont égayer vos lectures. Imaginez : vos personnages préférés, comme Pikachu et Eevee, repliés avec soin pour venir vous saluer depuis le haut de vos livres. C’est une activité parfaite pour les grands et les petits, que vous soyez débutants complets ou jeunes artistes en herbe. Comptez environ 15 à 20 minutes par marque-page, idéal pour un après-midi créatif ou un cadeau surprise fait maison. Vous apprendrez des pliages simples mais astucieux pour donner vie à ces petits trésors. Alors, prêt à plier avec moi ? C’est parti pour l’aventure origami Pokémon !
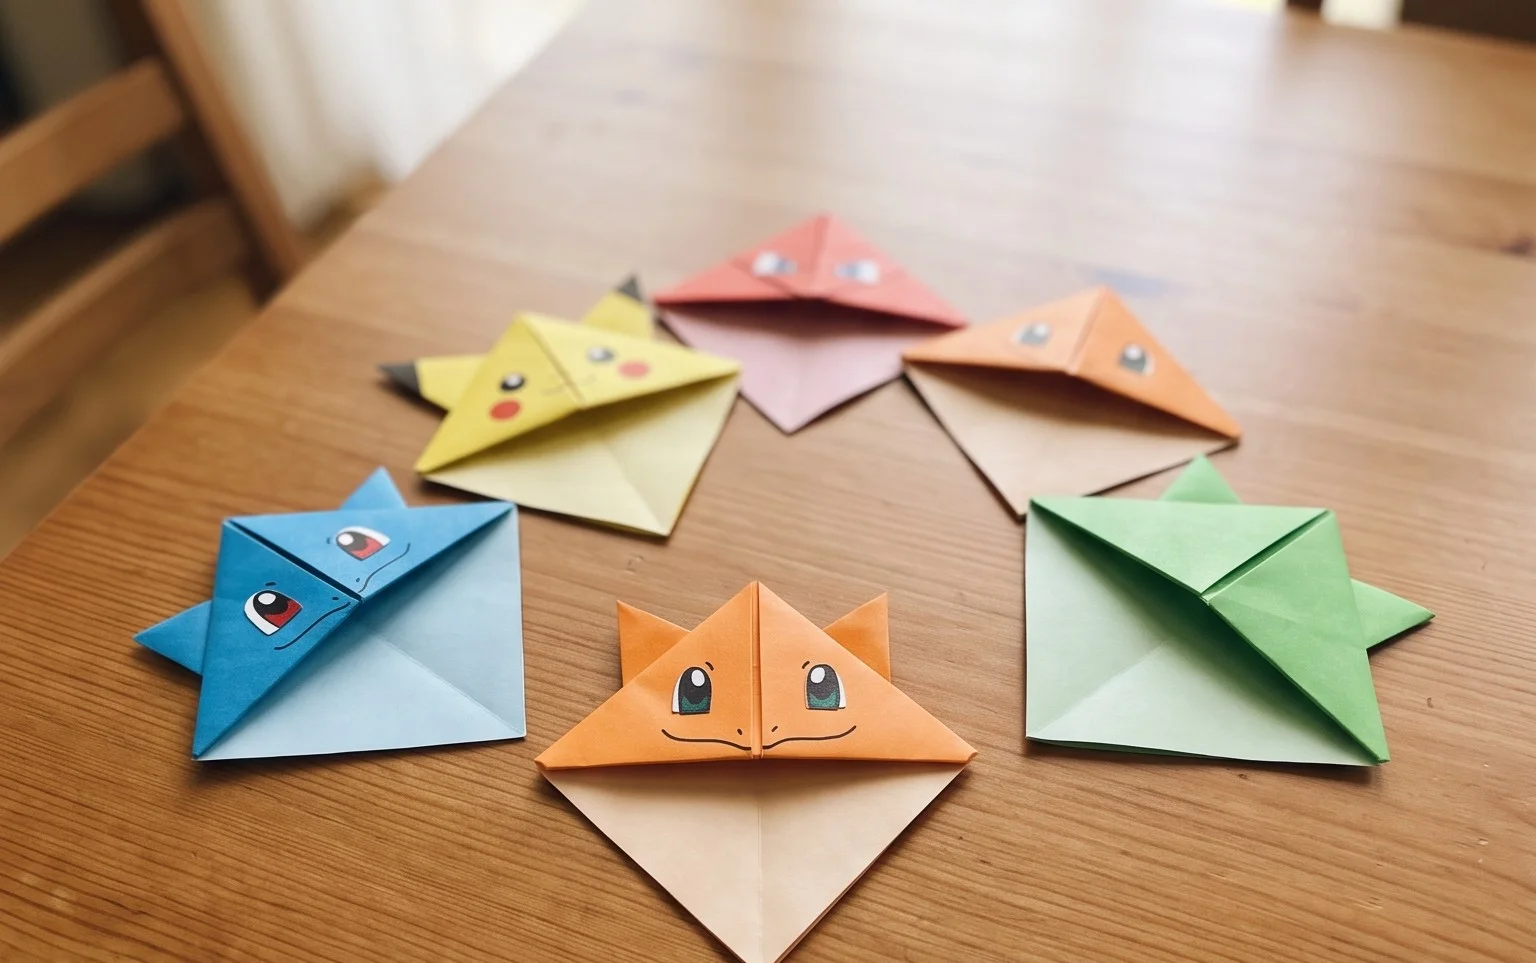
Pokémon Bookmark Fun: Craft Your Own Adorable Characters!
Welcome, creative friends! Today, we’re diving into the delightful world of origami to bring some of your favorite Pokémon to life – as super-functional and incredibly cute bookmarks! This activity is perfect for a rainy afternoon, a fun party craft, or just a way to add a touch of Pokémon magic to your reading adventures. Don’t worry if you’re new to origami; I’ll guide you through every step with clear, simple instructions. We’ll focus on making clean folds and understanding the basics, ensuring you end up with a charming bookmark you’ll be proud of.
Choosing Your Paper: The Foundation of a Fantastic Bookmark
The paper you choose can really elevate your origami. For these Pokémon bookmarks, I highly recommend using standard origami paper.
Origami paper is usually a bit thinner and crisper than regular printer paper, which makes it ideal for folding. It also has a lovely texture and holds creases really well. You can find it in packs with a wide variety of colors and patterns.
For this project, a good size to start with is 15cm x 15cm (or 6 inches x 6 inches). This size is manageable for beginners and results in a bookmark that’s a good size for most books.
Single-sided origami paper is perfectly fine. One side will be colored or patterned, and the other will be white. This is actually quite helpful when you’re learning, as you can clearly see which side you’re working with. If you have double-sided paper, that works too, and will give you a completely colored bookmark. Avoid cardstock or very thick paper, as it can be difficult to fold precisely and will create bulky creases.
Mastering the Base Folds: Your Origami Building Blocks
Before we start making Pokémon, we need to get comfortable with a couple of fundamental origami folds. These are the building blocks of many origami models.
The first essential fold is the “valley fold.” Imagine you’re folding a piece of paper in half, bringing one edge to meet another edge, and pressing down to create a crease. This crease will look like a valley when viewed from above.
The second is the “mountain fold.” This is the opposite of a valley fold. After you’ve made a valley fold, you can unfold the paper. Now, if you push the crease *upwards* from the underside of the paper, it will look like a mountain peak. For most beginner projects, we’ll primarily be making valley folds, but it’s good to understand the concept.
The key to clean folds is precision. When you bring an edge or a corner to meet another, take your time to align them perfectly. Then, run your fingernail or a bone folder along the crease firmly. This gives your model sharp edges and a professional look.
Let’s Fold! A Step-by-Step Guide to Your Pokémon Bookmark
We’ll start with a basic bookmark shape that can then be decorated to look like various Pokémon. This base is often called a “flapping bird base” or a variation of it, but we’re going to simplify it for our bookmark purpose.
1. Start with your square piece of origami paper. Place it on a flat surface with the colored side facing *down* if you’re using single-sided paper. If you have double-sided paper, it doesn’t matter which side is down.
2. Bring the bottom edge of the square up to meet the top edge perfectly. Crease firmly along the middle horizontal line. You should now have a rectangle.
3. Now, bring the left edge of the rectangle over to meet the right edge. Crease firmly along the middle vertical line. You should now have a smaller square.
4. Unfold the last fold you made (the vertical one). Your paper should be a rectangle again.
5. Open the paper up so it’s a square again, colored side up. You will see a horizontal crease.
6. Take the bottom edge of the square and fold it up to meet the horizontal crease you just made. Crease firmly. Your paper will now look like a square with the bottom half folded up.
7. Now, take the bottom left corner of this folded section and bring it up so that the edge of this section lines up with the vertical center crease. Crease firmly.
8. Repeat step 7 with the bottom right corner. Bring the bottom right corner of the folded section up so that its edge lines up with the vertical center crease. Crease firmly. You should now have a shape that looks a bit like a house with a pointy roof.
9. Unfold the two flaps you just made in steps 7 and 8. You’ll see two diagonal creases.
10. Now, flip your entire model over so the other side is facing you.
11. Take the bottom edge of the square and fold it up to meet the horizontal crease line (the one that runs across the middle of the square). Crease firmly.
12. Now, take the very bottom point of the model (which is now the folded edge) and fold it upwards, so the tip of that point meets the top horizontal edge of the paper. Crease firmly. This creates a sort of “pocket” at the top.
13. You’ve almost made it! Now, look at the two flaps on the front of your model. Gently lift the top flap. You will see a space underneath it. Carefully tuck the point of the flap you just folded upwards (from step 12) into this space. This secures the flap.
14. Flip your model over and repeat step 13 for the other side. You will lift the other top flap and tuck the other point into the pocket underneath it.
Congratulations! You’ve created the basic origami bookmark base. This forms the pocket that will slide onto your book pages. The pointy part at the top is where we’ll add our Pokémon features!
Common Pitfalls and How to Avoid Them
Even with the clearest instructions, beginners can sometimes run into a few snags. Here are some common issues and how to steer clear of them:
*
Misaligned Folds:
This is probably the most frequent mistake. When you’re instructed to bring an edge to an edge, or a corner to a corner, *really* take your time to make sure they line up perfectly before creasing. If your folds are a little off at the start, the subsequent folds will be even more skewed, and your finished model might not look quite right.
* *How to avoid:* Before you make a crease, hold the paper in place with one hand and check the alignment from different angles. If it’s not perfect, adjust it. Don’t rush!
*
Fuzzy or Weak Creases:
If you’re not pressing down firmly enough on your creases, your origami can look a bit floppy and won’t hold its shape well.
* *How to avoid:* Use your fingernail or a bone folder (if you have one) to run along the entire length of each crease. Make sure the crease is sharp and defined.
*
Tucking the Flaps Incorrectly:
In step 13 and 14, tucking the flaps can be a bit fiddly. If you force it or don’t open the pocket enough, you can tear the paper or make the tuck look messy.
* *How to avoid:* Gently lift the top flap. You don’t need to lift it very high, just enough to create a small opening. Then, carefully guide the point you’re tucking into that opening. It should slide in relatively easily if the previous folds were done neatly.
Getting Creative: Variations to Make Your Pokémon Unique
Once you’ve mastered the basic bookmark, the real fun begins with customization!
Varying Size: Obviously, you can start with different sized square papers. A larger square will create a larger bookmark, and a smaller square will result in a daintier one. Experiment with sizes to see what fits your books best.
Paper Patterns and Colors: This is where you can really let your imagination run wild!
- Pokémon Colors: Use paper that matches your favorite Pokémon’s colors. Pikachu yellow, Charmander orange, Squirtle blue, Bulbasaur green – the possibilities are endless!
- Themed Paper: Look for origami paper with patterns like stars, polka dots, or even subtle gradients. This can add an extra layer of visual interest without needing to draw on the bookmark.
- Printed Patterns: If you’re feeling adventurous, you can print simple Pokémon patterns or even just your favorite colors onto regular A4 or letter-sized paper, and then cut them into perfect squares. Just ensure the ink is dry before you start folding.
Adding Features: The pointy top of the bookmark is perfect for drawing or attaching features to make it look like specific Pokémon.
- Pikachu: Draw on two little black eyes, a small pink nose, and a red circular cheek. You can even draw on some little pointy ears extending from the sides of the head.
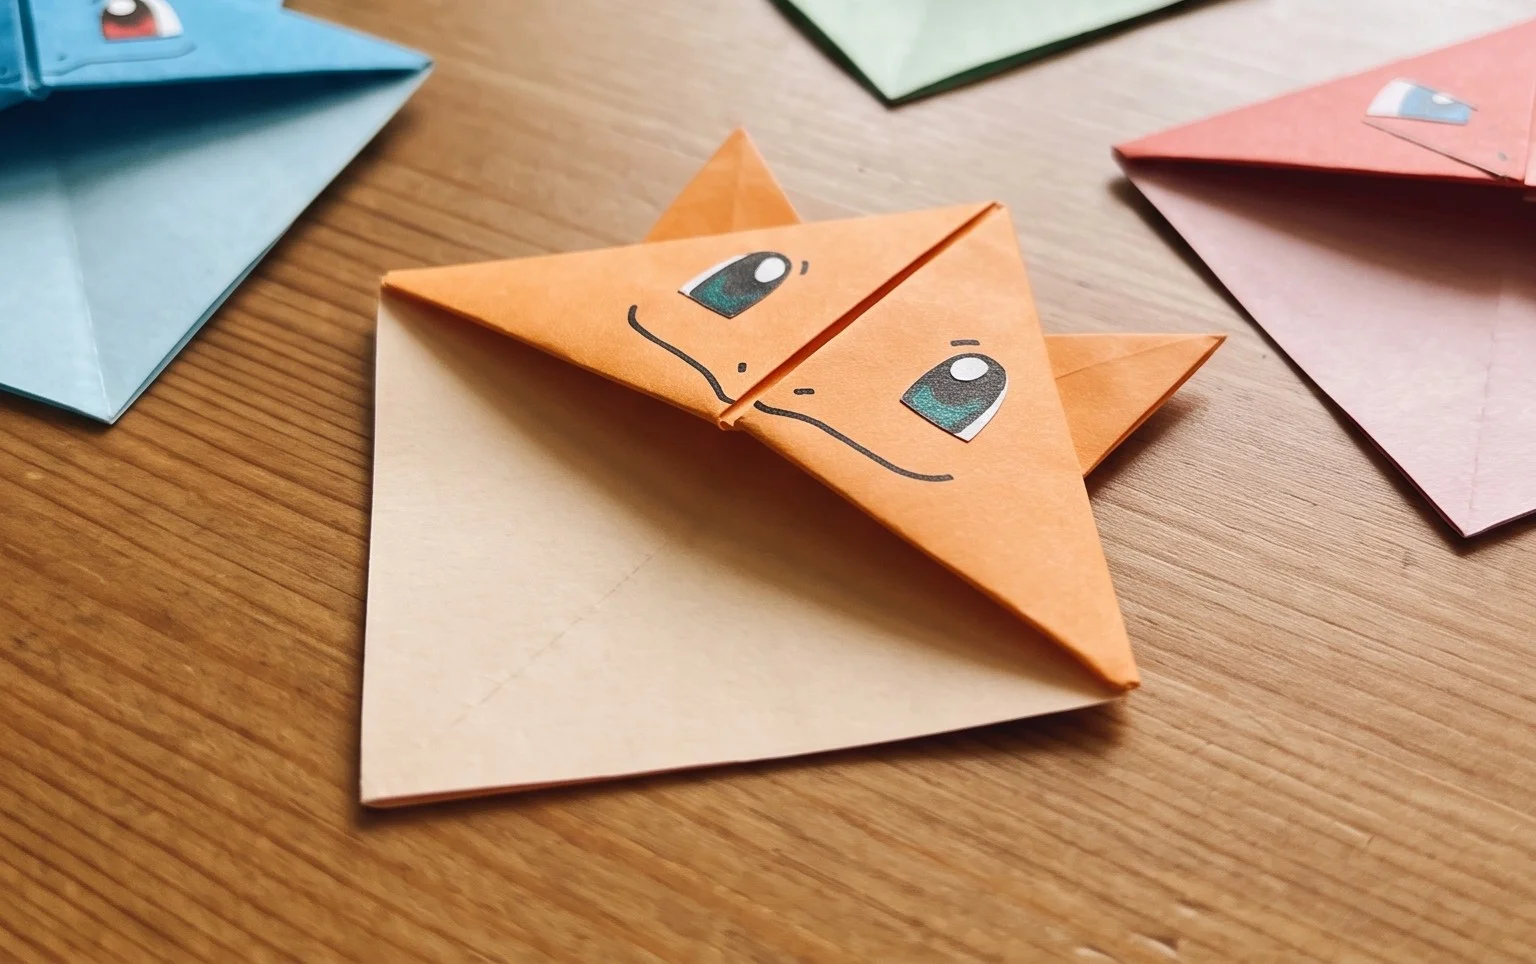
- Charmander: Draw a little black nose and two black eyes. A flame shape drawn in orange or red on the tip of the bookmark’s point will give it that iconic look.
- Eevee: Draw some simple eyes and a nose. Then, draw some fluffy ears on the sides and a little bushy tail shape peeking out from the bottom edge of the bookmark.
- Gengar: Use purple paper, draw on two big white eyes with black pupils, and a mischievous smile.
Showcase Your Creations: Displaying and Gifting Your Pokémon Bookmarks
Once you’ve folded and decorated your Pokémon bookmarks, you’ll want to show them off!
For Personal Use: Simply slide your finished bookmark onto the page where you stopped reading. It’s a fantastic way to keep your place and adds a cheerful touch to your reading nook. You can create a whole collection and use them for different books.
As Gifts: These bookmarks make absolutely wonderful, personalized gifts for any Pokémon fan.
- Book Lovers: Pair a handmade Pokémon bookmark with a new book for a thoughtful and practical present.
- Party Favors: If you’re hosting a Pokémon-themed party, these are perfect as take-home favors for your guests. You can even have a crafting station at the party!
- Stocking Stuffers or Small Treats: They’re small enough to tuck into Christmas stockings, birthday cards, or as an extra little surprise for a friend.
You can even tie a small ribbon or piece of yarn through the top pocket to add an extra decorative touch. Happy folding, and may your reading adventures be ever more magical with your new Pokémon friends!
Conclusion
We hope you’ve enjoyed crafting your own fun Pokémon bookmarks! Don’t worry if your first origami attempt isn’t perfect; that’s what practice is for. The most important thing is to have fun and be proud of what you’ve made. We encourage you to try this origami activity and share your adorable Pokémon creations with friends and family. For your next challenge, why not try making a Pikachu bookmark or perhaps a Charmander? There are so many possibilities with these rigolos marque-pages! Don’t hesitate to explore even more exciting paper projects with us.