Easy Origami Shark: Step-by-Step Paper Craft
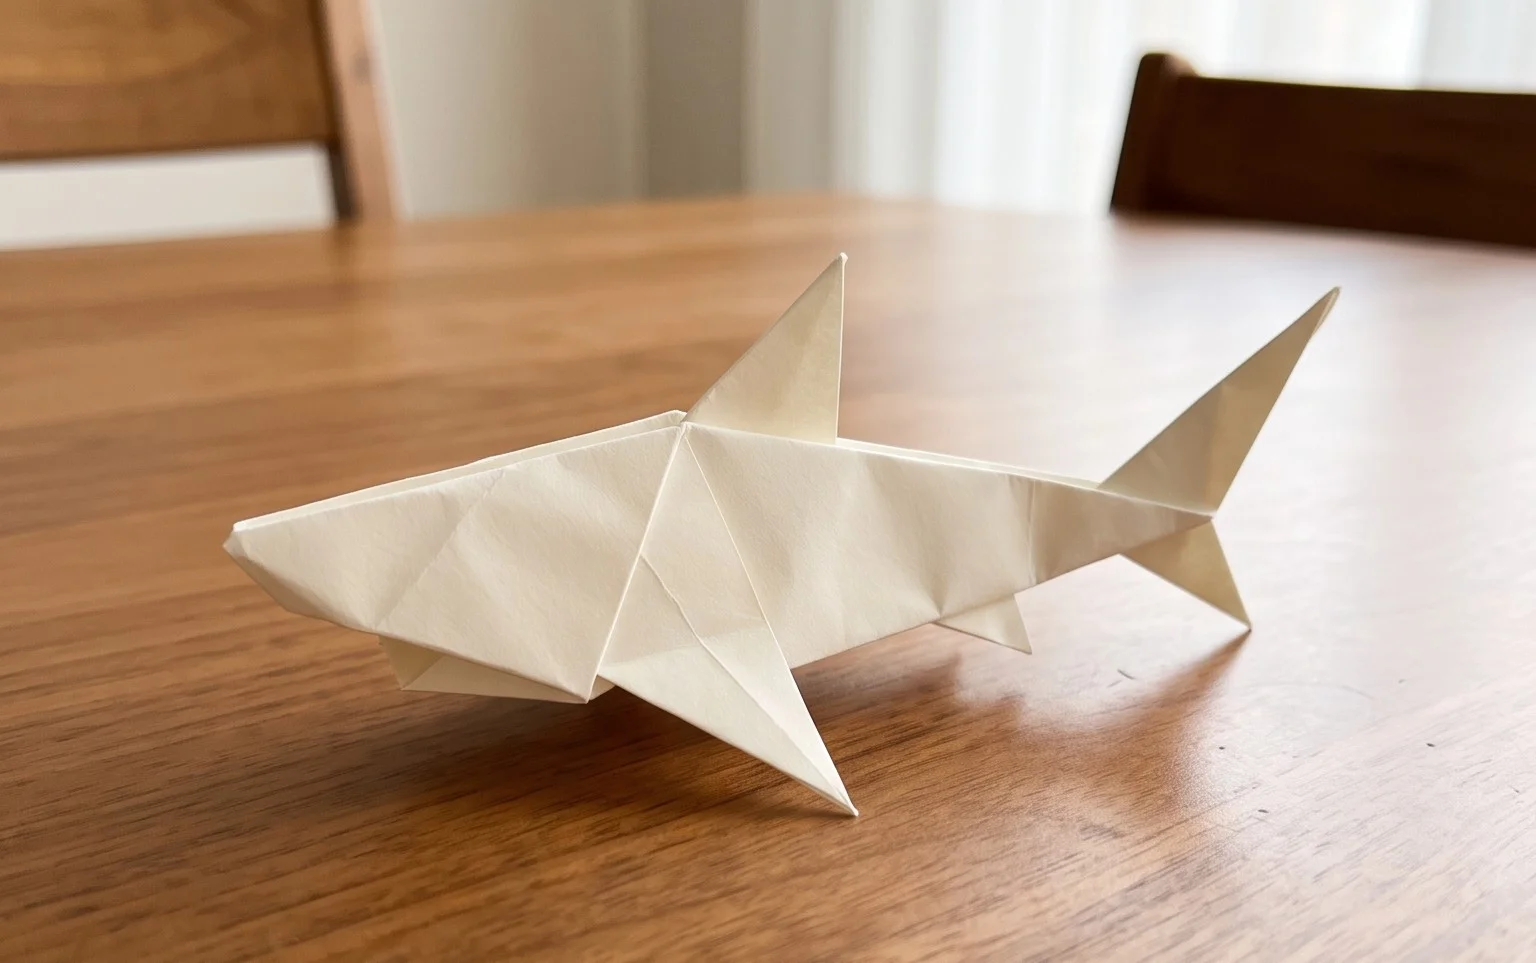
Origami Shark tutorials are a fantastic way to dive into the world of paper folding! Today, we’re going to create a sleek and impressive origami shark, complete with its distinctive dorsal fin and powerful tail. This model is perfect for absolute beginners, and kids will have a blast folding their own little ocean predator. You’ll be amazed at how quickly it comes together – in about 10-15 minutes, you’ll have your very own paper shark ready to swim across your desk! It makes a wonderful classroom decoration or a fun handmade gift. Throughout this tutorial, you’ll learn fundamental origami techniques like valley and mountain folds, and how to create sharp, defined creases. Let’s grab a sheet of paper and get started on this exciting adventure!
Origami Shark: Step-by-Step Instructions
Ah, the origami shark! A classic for a reason. There’s something so satisfying about transforming a simple square of paper into a sleek, formidable predator of the deep. Whether you’re looking to add a cool decoration to your desk, create a unique gift, or simply enjoy the meditative process of origami, this shark model is a fantastic choice. It’s not overly complex, making it quite approachable for beginners, and the result is always impressive. I’ve found that patience and careful attention to detail are key, just like with any origami project. Let’s dive in and make our own paper shark!
Choosing Your Paper
The paper you choose can significantly impact the look and feel of your finished shark. For this particular model, I highly recommend using standard origami paper. It’s specifically designed for folding, with a good balance of crispness and pliability. Here’s a breakdown of what works best:
- Type: Traditional origami paper is ideal. It’s thin enough to allow for multiple folds without becoming too bulky, yet strong enough to hold its shape. Kami paper is a common and excellent choice.
- Weight: Most origami paper is around 60-80 gsm (grams per square meter). This weight is perfect for the shark model. Avoid very thin paper like tissue paper, as it will tear easily, and avoid very thick cardstock, which will be too stiff to fold precisely.
- Size: A 6-inch (15 cm) square is a great starting point for beginners. It’s large enough to work with comfortably but not so large that it becomes unwieldy. If you become more experienced, you can experiment with larger or smaller sizes.
- Single or Double-Sided: For a shark, a single-sided paper (white on one side, colored on the other) is fantastic. This allows you to create a shark with a white belly and a colored back, mimicking its natural appearance. If you only have double-sided paper, that’s perfectly fine too; you’ll just have a shark of a single color all over.
When you’re ready, lay your chosen square of paper flat on a clean, hard surface. Make sure the side you want to be the ‘outside’ of your shark (e.g., the colored side) is facing up if you want a colored shark, or facing down if you want a white shark with a colored back (so the colored side will eventually show on the back). I usually like my sharks to be blue or grey on top and white underneath.
The Base Folds: Building the Foundation
Before we get to the shark itself, we need to make a couple of fundamental origami folds. These are the building blocks that will make the subsequent steps easier and more accurate. Precision here is crucial for a clean-looking final model.
The first base we’ll make is a square base, sometimes called a preliminary fold.
Lay your paper flat, colored side up.
Bring the bottom edge up to meet the top edge, aligning them perfectly. Crease firmly down the middle. You now have a rectangle.
Now, take the left edge of the rectangle and bring it over to meet the right edge. Align them precisely and crease firmly. You should now have a smaller square.
Open up the last two folds, so you are back to the rectangle, and then open up the first fold so you are back to your original square, but with creases dividing it into four smaller squares.
Next, we’ll transform this into the waterbomb base.
With your paper colored side up and creased into four small squares, turn the paper over so the white side is facing up.
Bring the bottom edge up to meet the top edge, aligning them perfectly. Crease firmly. You have a rectangle.
Now, fold this rectangle in half diagonally by bringing the bottom left corner up to meet the top right corner. Crease firmly.
Unfold the last two folds. You should have your original square, with creases forming an ‘X’ and a ‘+’ in the middle.
Now, here’s where it gets a little tricky but very satisfying. With the white side still facing up, gently push the left and right sides of the paper inwards. The diagonal creases you just made will help guide this. As you push inwards, the top point will naturally come down. Bring the top point all the way down to meet the bottom point, collapsing the paper into a smaller, four-pointed shape. This is your waterbomb base. Make sure all the edges are aligned and the creases are sharp.
Numbered Walkthrough: Folding Your Shark
Now that we have our waterbomb base, let’s start transforming it into our shark! Remember to make all your creases sharp and precise. This is where the magic happens!
- Start with your waterbomb base. You should have a closed point at the top and an open set of flaps at the bottom. With the closed point facing away from you, position the base so that the open edges are on the right side.
- Take the top layer of the right-hand flap. Bring the right edge of this flap to meet the center vertical crease. Crease firmly.
- Repeat step 2 with the flap directly below it. Bring its right edge to meet the center vertical crease. Crease firmly. You should now have two folded flaps on the right side, creating a kite shape.
- Now, take the entire right side of the model and fold it in half along the center vertical crease, so that the two kite-shaped flaps are tucked inside. Crease firmly.
- Flip the entire model over. You’ll see the same configuration on this side.
- Take the top layer of the right-hand flap on this side. Bring the right edge of this flap to meet the center vertical crease. Crease firmly.
- Repeat step 6 with the flap directly below it. Bring its right edge to meet the center vertical crease. Crease firmly.
- Now, take the entire right side of the model and fold it in half along the center vertical crease, tucking these flaps inside. Crease firmly. You should now have a long, thin shape with two points at the top and two points at the bottom.
- Let’s work on the head. Take the top layer of the point on the right side. This will be the shark’s nose. Fold this point down so that the tip is about an inch (or a couple of centimeters) away from the bottom edge of the model. Crease firmly. This creates the characteristic snout of the shark.
- Now, we need to create the mouth. Carefully make a small cut horizontally across the folded point you just made, about a quarter of an inch (or half a centimeter) from the bottom edge of the model. This cut should be about 1 to 1.5 inches (2.5 to 4 cm) long. Don’t cut all the way to the sides; leave a small margin. This cut will allow us to open the mouth later.
- Bring the entire model back to its long, thin shape.
- Now, let’s shape the tail. Take the bottom point of the model. Fold it upwards at an angle, creating a triangle shape for the tail fin. The angle can be adjusted to your liking, but a good starting point is around 45 degrees. Crease firmly.
- Gently pull apart the flaps at the bottom of the model where you made the cut. This will create the open mouth. You can gently fold the edges of the mouth inwards slightly to give it more definition.
- Now, we need to create the fins. Take the left-hand point of the model. This will be the shark’s dorsal fin. Fold this point upwards, at an angle, so it stands out from the body. The angle and size are up to you, but a slight outward angle works well. Crease firmly.
- For the pectoral fins (the ones on the sides), locate the two flaps that are sticking out on the lower half of the body. Fold each of these flaps slightly downwards and outwards. You can adjust the angle to make them more or less prominent. Crease firmly.
- Finally, you can slightly curve the body of the shark by gently pinching and pulling the paper to give it a more dynamic, swimming appearance.
Common Pitfalls and How to Avoid Them
Even with clear instructions, origami can sometimes be a bit tricky. Here are a couple of places beginners often run into trouble with this shark model, and how to avoid them:
- Imprecise Creases: This is probably the most common issue in any origami. If your creases aren’t sharp and precise, the subsequent folds won’t align correctly, and the final model will look messy.
- How to Avoid: Use your fingernail or a bone folder (if you have one) to firmly run along each crease. Make sure edges and corners meet exactly before creasing. Imagine you’re drawing a line with your fingernail – that’s the kind of pressure you want.
- Misinterpreting the Waterbomb Base Collapse: The step where you collapse the square into the waterbomb base can be confusing. If you push too hard or in the wrong direction, you can end up with crumpled paper.
- How to Avoid: Be gentle and let the existing creases guide the collapse. When the white side is up, and you have your ‘+’ and ‘X’ creases, gently push the left and right edges inwards. The paper should naturally want to fold along the diagonal creases. Don’t force it; let it happen.
- The Mouth Cut: Making the mouth cut too large or in the wrong place can make the shark look odd.
- How to Avoid: Make the cut *after* you’ve folded the snout down and creased it firmly. The cut should be horizontal and relatively shallow, just enough to allow the mouth to open slightly. Aim for neat, clean edges for the mouth.
Varying Your Shark
Once you’ve mastered the basic shark, you might want to experiment! Origami is all about creativity, and there are many ways to personalize your shark:
- Size: Simply start with a larger or smaller square of paper. Remember that smaller paper requires more precision, and larger paper might be a bit more challenging to handle.
- Paper Pattern: This is where you can have a lot of fun! Use patterned origami paper. Think about different ocean themes: waves, fish scales, or even just cool geometric patterns. You can also use paper with gradients or metallic finishes for a unique look.
- Color: Don’t be afraid to go beyond typical shark colors! Try vibrant reds, oranges, or even purples for a more stylized or fantasy-like shark.
- Adding Details: After folding, you can use a fine-tip marker to draw in eyes, gills, or even some battle scars for a more characterful shark.
Displaying and Gifting Your Shark
A finished origami shark is more than just a folded piece of paper; it’s a little piece of art! Here are some ideas for what to do with your creations:
- Desk Buddy: Place your shark on your desk at work or home. It’s a great conversation starter and a cheerful companion.
- Mobile: String several sharks together at different lengths to create a dynamic underwater mobile for a child’s room or any space that needs a touch of the ocean.
- Gift Topper: Attach a shark to the top of a gift box for a unique and personal touch.
- Party Favors: Fold a batch of smaller sharks as party favors for a beach-themed or under-the-sea party.
- Classroom Display: If you’re a teacher, these are fantastic for decorating a classroom, especially during units on ocean life or marine biology.
- Part of a Diorama: Combine your origami sharks with other folded sea creatures and some craft supplies to create a miniature underwater scene.
I hope you’ve enjoyed folding your origami shark! It’s a rewarding process, and the result is always something to be proud of. Keep practicing, and don’t be afraid to experiment. Happy folding!
Conclusion
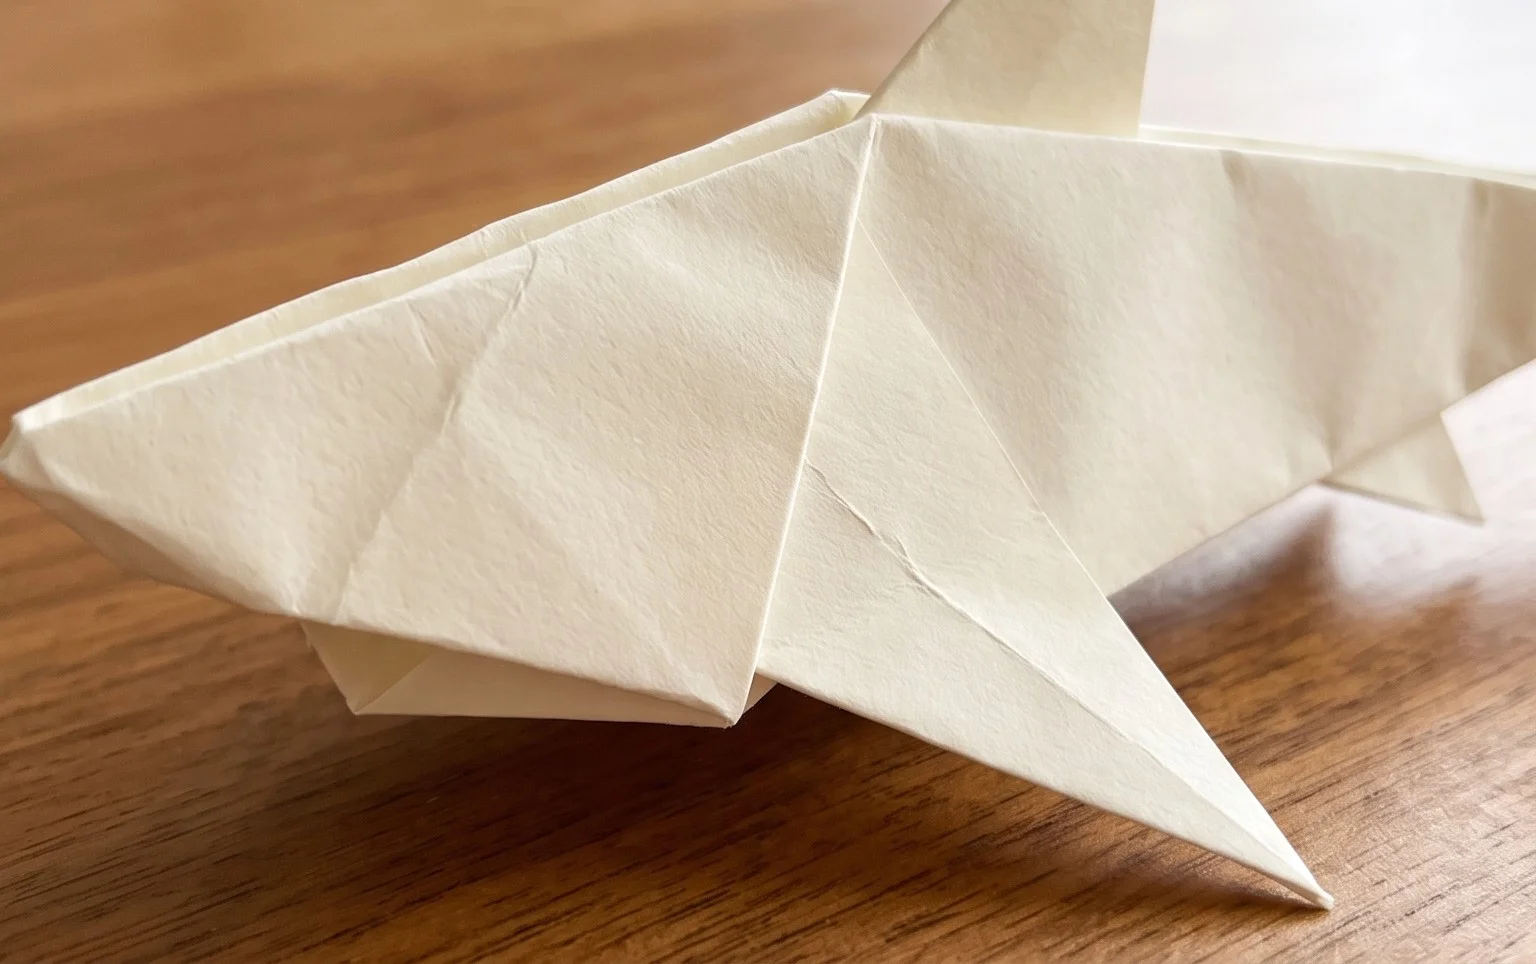
Congratulations on folding your very own origami shark! We hope you enjoyed this creative journey. Don’t worry if your first attempt isn’t perfect; that’s what practice is for! Every fold is a step towards mastery. We’d love to see your finished creation, so feel free to share your magnificent origami shark with friends and family.
Ready for More?
Once you’ve perfected this fin-tastic friend, why not try folding a playful origami dolphin or a majestic origami whale next? The ocean of paper possibilities is vast!
We encourage you to explore more origami projects and discover the endless joy of transforming a simple sheet of paper into something wonderful. Happy folding!