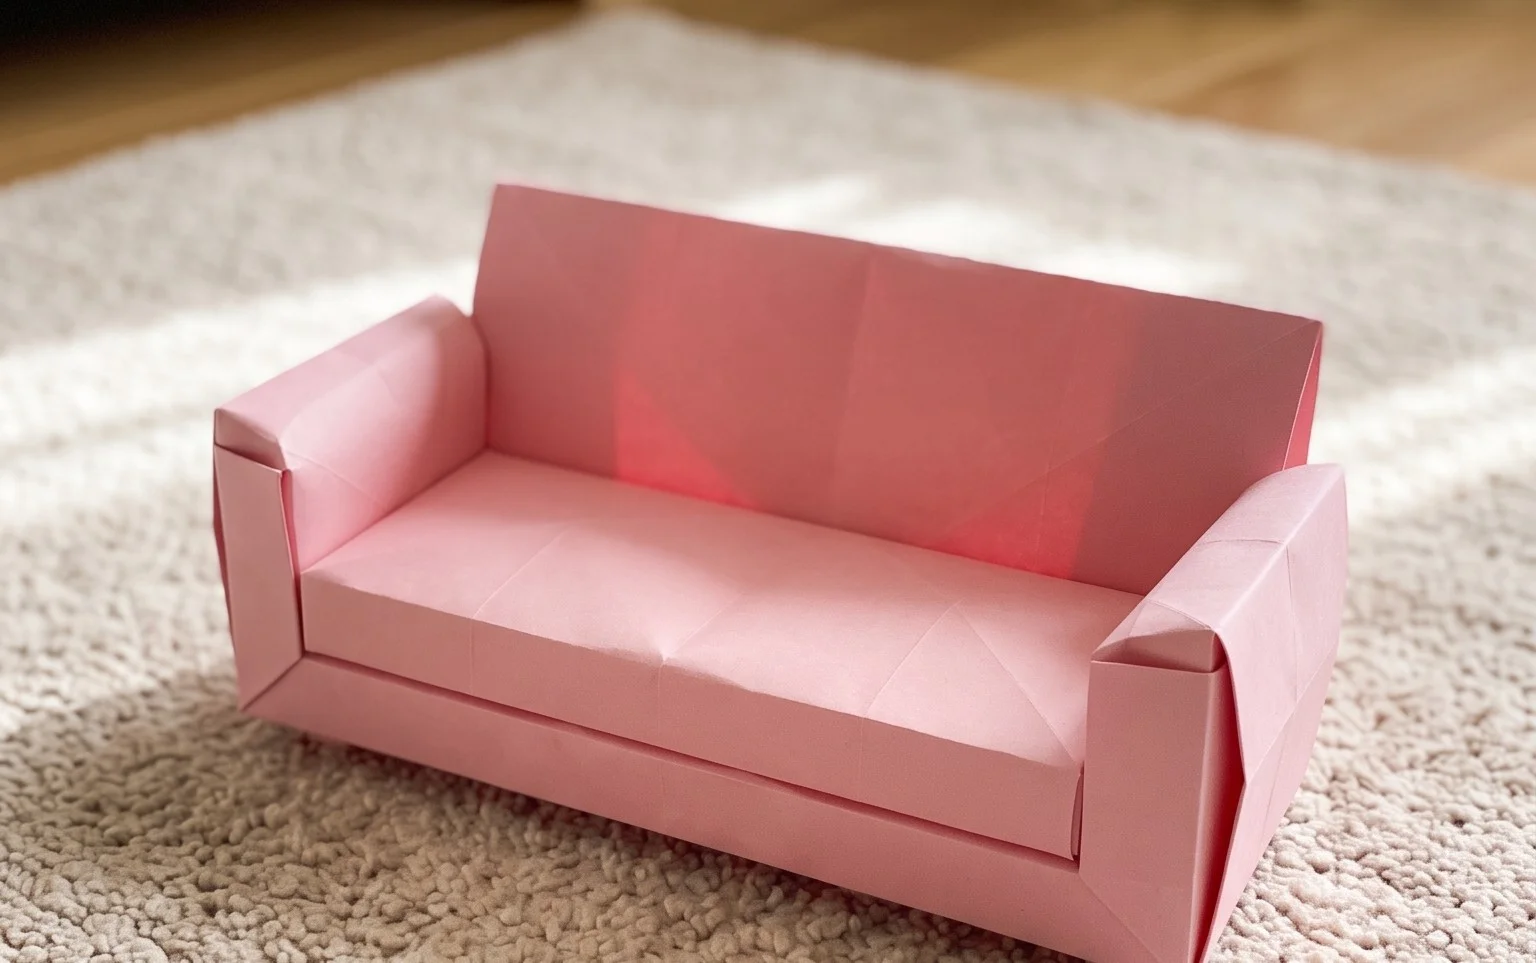
How to Fold an Origami Sofa, and create a charming miniature piece of furniture perfect for your desk or dollhouse! Imagine a tiny, cozy sofa, complete with plump cushions and sturdy arms, all made from a single sheet of paper. This delightful model is absolutely perfect for complete beginners and younger folders, taking just about 5-10 minutes to complete. In this easy-to-follow tutorial, I’ll guide you step-by-step through the simple folds needed to transform flat paper into this adorable, three-dimensional sofa. You’ll learn basic origami folds that are foundational for many other models. Get ready to bring a touch of cozy craftiness to your space – let’s get folding!
How to Fold a Charming Origami Sofa
Welcome, fellow paper enthusiasts! Today, we’re going to embark on a delightful journey to create a miniature origami sofa. This project is wonderfully satisfying, resulting in a cute little piece of furniture that’s perfect for decoration, imaginative play, or even as a thoughtful handmade gift. Don’t worry if you’re new to origami; I’ll guide you through each step with clear, simple instructions. We’ll cover everything from choosing the right paper to troubleshooting common hiccups. Let’s get started!
Choosing Your Paper: The Foundation of Your Sofa
The paper you choose can significantly impact the look and feel of your origami sofa. For this model, I recommend using standard origami paper.
Origami paper is specifically designed for folding, which means it’s thin enough to handle multiple folds without becoming too bulky, yet strong enough to hold its shape. It also has a delightful crispness that makes for clean, sharp creases. Typical origami paper comes in squares, usually 6 inches by 6 inches (15 cm x 15 cm) or 8 inches by 8 inches (20 cm x 20 cm). For your first sofa, a 6-inch square is a good starting point – it’s manageable and will produce a nicely sized model.
Weight is also a factor. Standard origami paper is usually around 70-80 gsm (grams per square meter). This is ideal. Avoid cardstock, as it’s too thick and will make the final model chunky and difficult to fold precisely. Conversely, very thin paper like tissue paper might tear easily.
The question of single or double-sided paper is entirely up to your aesthetic preference. If you use double-sided paper, you’ll see both colours on different parts of the sofa, which can add visual interest. For example, one side might be the primary sofa colour, and the other a complementary shade for the ‘cushions’ or ‘armrests’. If you prefer a solid colour, a single-sided sheet with a white back is perfectly fine, and often more readily available.
The Base Folds: Building Blocks of Our Sofa
Before we dive into the specific sofa folds, let’s ensure we’re comfortable with a couple of fundamental origami techniques that will be crucial for creating crisp and accurate folds.
The most important thing in origami is to make your creases sharp and precise. This means running your fingernail firmly along each fold. For beginners, it’s easy to be a bit tentative, but don’t be afraid to press down! Clean folds make the subsequent steps much easier and result in a much neater final model.
We’ll be using two basic folds extensively:
- Valley Fold: Imagine folding the paper so the crease forms a “V” shape, like a valley. You’ll typically bring one edge or corner to meet another.
- Mountain Fold: This is the opposite of a valley fold. The crease forms an inverted “V” shape, like the peak of a mountain. You might perform this by folding the paper back on itself along a previously made valley fold.
Another essential technique is aligning edges and corners perfectly before making a crease. Take your time and ensure that the points or edges you are bringing together meet exactly. This is where the precision really counts.
The Folding Sequence: Let’s Build Our Sofa!
Now, let’s get our hands busy and fold this charming sofa. We’ll assume you’re starting with your square piece of origami paper.
1. Begin with your paper white side up (if using double-sided paper). Fold the paper in half horizontally, bringing the bottom edge up to meet the top edge. Crease firmly. You now have a rectangle.
2. Unfold the paper. You should have a horizontal crease in the middle.
3. Now, fold the paper in half vertically, bringing the left edge over to meet the right edge. Crease firmly. You now have a smaller rectangle.
4. Unfold the paper. You should now have two perpendicular creases dividing your square into four equal smaller squares.
5. Flip the paper over so the coloured side is facing up (if using double-sided paper).
6. Bring the bottom edge up to meet the horizontal center crease. Crease firmly.
7. Bring the top edge down to meet the horizontal center crease. Crease firmly. Your paper should now look like a long, skinny rectangle with two flaps at the top and bottom.
8. Now, fold the right edge inwards so it meets the vertical center crease. Crease firmly.
9. Fold the left edge inwards so it meets the vertical center crease. Crease firmly. Your paper should now be a neat square again, with all the edges meeting at the center. This is a common base in origami, often called a “preliminary base” or “square base” but we’ve made some adjustments here.
10. Let’s work with the bottom edge now. Take the bottom edge of the paper and fold it upwards. You want to fold it up so that the bottom edge lands exactly on the horizontal crease you made in step 6. Crease very firmly.
11. Now, take the top edge of the paper and fold it downwards. You want this top edge to land exactly on the horizontal crease you made in step 7. Crease very firmly. At this point, your paper should look like a long, thin strip with some layers at either end.
12. Let’s work on the sides. Take the right edge of the paper and fold it inwards. You want to fold it so that the right edge lines up perfectly with the vertical crease that runs down the center of your paper. Crease firmly.
13. Repeat step 12 for the left side. Take the left edge of the paper and fold it inwards so it lines up perfectly with the vertical center crease. Crease firmly. Your paper should now be a narrow rectangle again, but thicker due to the folds.
14. Now, we’re going to create the sofa’s structure. Look at the right side of your paper. You’ll see a flap that’s been folded inwards. You want to take this entire section and fold it outwards at a right angle to the main body of the paper. Imagine you are opening up the side of a box. This will form one armrest of your sofa. Crease firmly at the base where it joins the main body.
15. Repeat step 14 on the left side. Take the left flap and fold it outwards at a right angle to the main body. This will form the other armrest. Crease firmly at the base.
16. Now, look at the bottom of your model. You have two flaps that were folded up in steps 6 and 7. Gently pull these flaps apart and flatten them down. These will form the base and the back of your sofa. You want to pull them out so they create a flat bottom and a vertical back. Crease firmly along the bottom edge to define the base and along the back edge to secure the backrest. You are essentially opening up the bottom of the model and folding the back section upwards.
17. You should now have a recognisable sofa shape! The two side folds are the armrests, the flattened bottom is the seat, and the upright section is the back.
Common Pitfalls and How to Avoid Them
Even with clear instructions, beginners can sometimes run into a few snags. Here are some common places where people get stuck and how to steer clear of them:
- Imprecise Initial Folds: If your initial horizontal and vertical folds in steps 1-4 aren’t perfectly aligned, the subsequent folds will be off. This will make it hard to get the edges to meet the center creases accurately.
- To Avoid: Take your time when making these first folds. Ensure the corners and edges meet precisely before creasing. It’s better to be slow and accurate here than to rush and have to correct later.
- Soft Creases: If your creases aren’t sharp, the paper won’t hold its shape well. The armrests might flop over, or the back might not stand up straight.
- To Avoid: As mentioned before, really press down with your fingernail on every single crease. Go over them a second time if you need to. This is one of the most crucial elements of good origami.
- Misunderstanding the “Opening Up” Folds (Steps 14-16): These are the most transformative folds, and it can be a bit tricky to visualise them without a diagram.
- To Avoid: For the armrests (steps 14-15), think of peeling open a flap at a 90-degree angle. For the back and base (step 16), imagine unfolding the bottom section to create a flat seat and then folding the remaining part upwards to become the backrest. If it’s not quite right, gently unfold and try again, focusing on creating distinct planes for the seat, back, and armrests.
Varying Your Sofa: Personalisation Station!
The beauty of origami is its customisability! Once you’ve mastered the basic fold, you can have a lot of fun with variations:
- Size: This is the easiest variation! Simply start with a larger or smaller square of paper. An 8-inch square will give you a bigger sofa, while a 4-inch square will produce a tiny one. Just remember that working with very small paper can be fiddly.
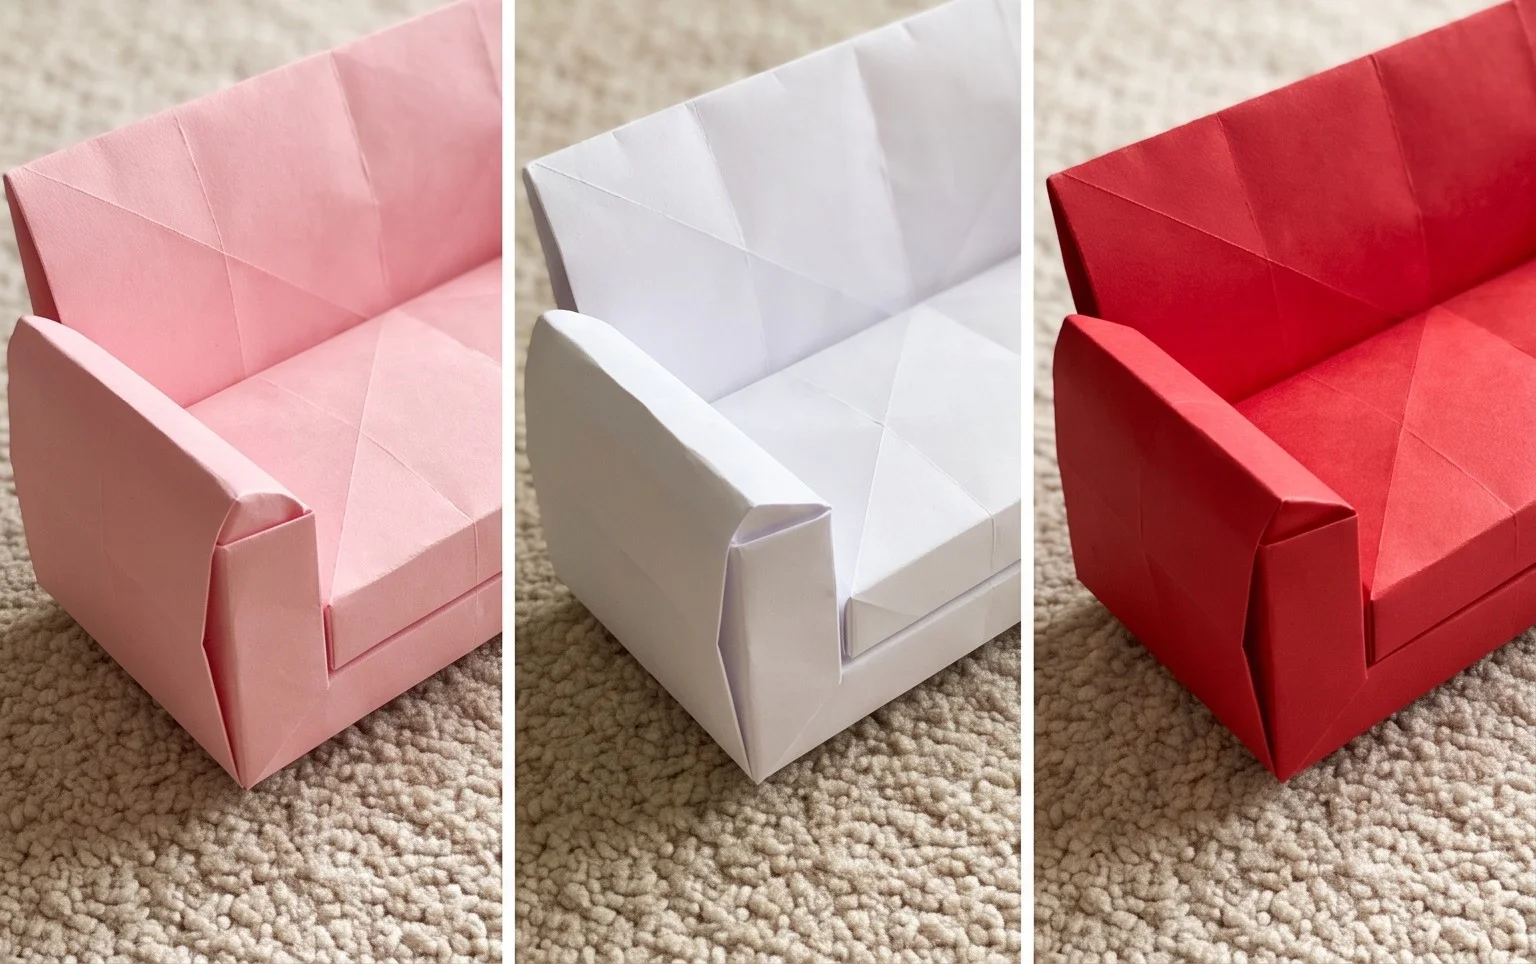
- Paper Pattern: This is where the magic happens! Use patterned origami paper for unique sofas. Think floral patterns for a vintage look, geometric designs for a modern feel, or even paper with a wood grain texture. If you use double-sided patterned paper, you can get some really interesting colour combinations.
- Colour: Don’t be limited to traditional colours! Try vibrant neons, pastels, or even metallic papers. You can also use plain coloured paper and then decorate the finished sofa with markers or small stickers for extra flair. Imagine a red sofa with tiny gold stars!
- Adding Details: You could even try folding small squares of contrasting paper and gluing them onto the ‘cushions’ of your sofa to give it more depth.
Displaying and Gifting Your Origami Sofa
Your finished origami sofa is more than just a folded piece of paper; it’s a little piece of art! Here are some ideas for what to do with your creations:
- Desk Decoration: Place your miniature sofa on your desk or shelf for a cheerful pop of colour and a conversation starter. It’s a delightful way to bring a bit of handmade charm into your workspace.
- Dioramas and Dollhouses: These sofas are perfectly scaled for use in small dioramas or dollhouses, adding a touch of realism and whimsy.
- Gift Topper: Instead of a traditional bow, why not use your origami sofa to top a gift? It’s a unique and memorable embellishment.
- Party Favors: If you’re hosting a party, especially one with a crafty or miniature theme, these little sofas make wonderful, handmade party favors.
- Part of a Larger Origami Scene: Create a whole origami room! Fold a table, a lamp, and maybe even some tiny origami cushions to go with your sofa.
- As a Small Gift Itself: Sometimes, a small, thoughtful handmade item is the most precious gift. Package your origami sofa nicely in a small box or a clear cellophane bag with a ribbon. It’s a lovely gesture for friends, family, or even as a thank you for a teacher or colleague.
I hope you’ve enjoyed learning how to fold this adorable origami sofa. Remember, practice makes perfect! Don’t get discouraged if your first few attempts aren’t flawless. Each fold is a step in your origami journey, and with a little patience and persistence, you’ll be creating beautiful origami sofas in no time. Happy folding!
Conclusion
Congratulations on folding your very own origami sofa! We hope you found this tutorial helpful and enjoyable. Don’t worry if your first attempt isn’t perfect – every origami artist knows that practice makes progress! The beauty of paper folding is that you can always try again and improve with each fold. We’d love to see your finished creations, so feel free to share them with friends and family!
What’s Next?
Ready for more paper adventures? Try folding an origami chair to complete your furniture set, or perhaps an origami table for your tiny living room. The world of paper projects is vast and full of wonderful things to discover. Keep folding, keep creating, and most importantly, keep having fun with your origami sofa and all the other models you’ll master!