Easy Origami Eagle: Step-by-Step Paper Craft
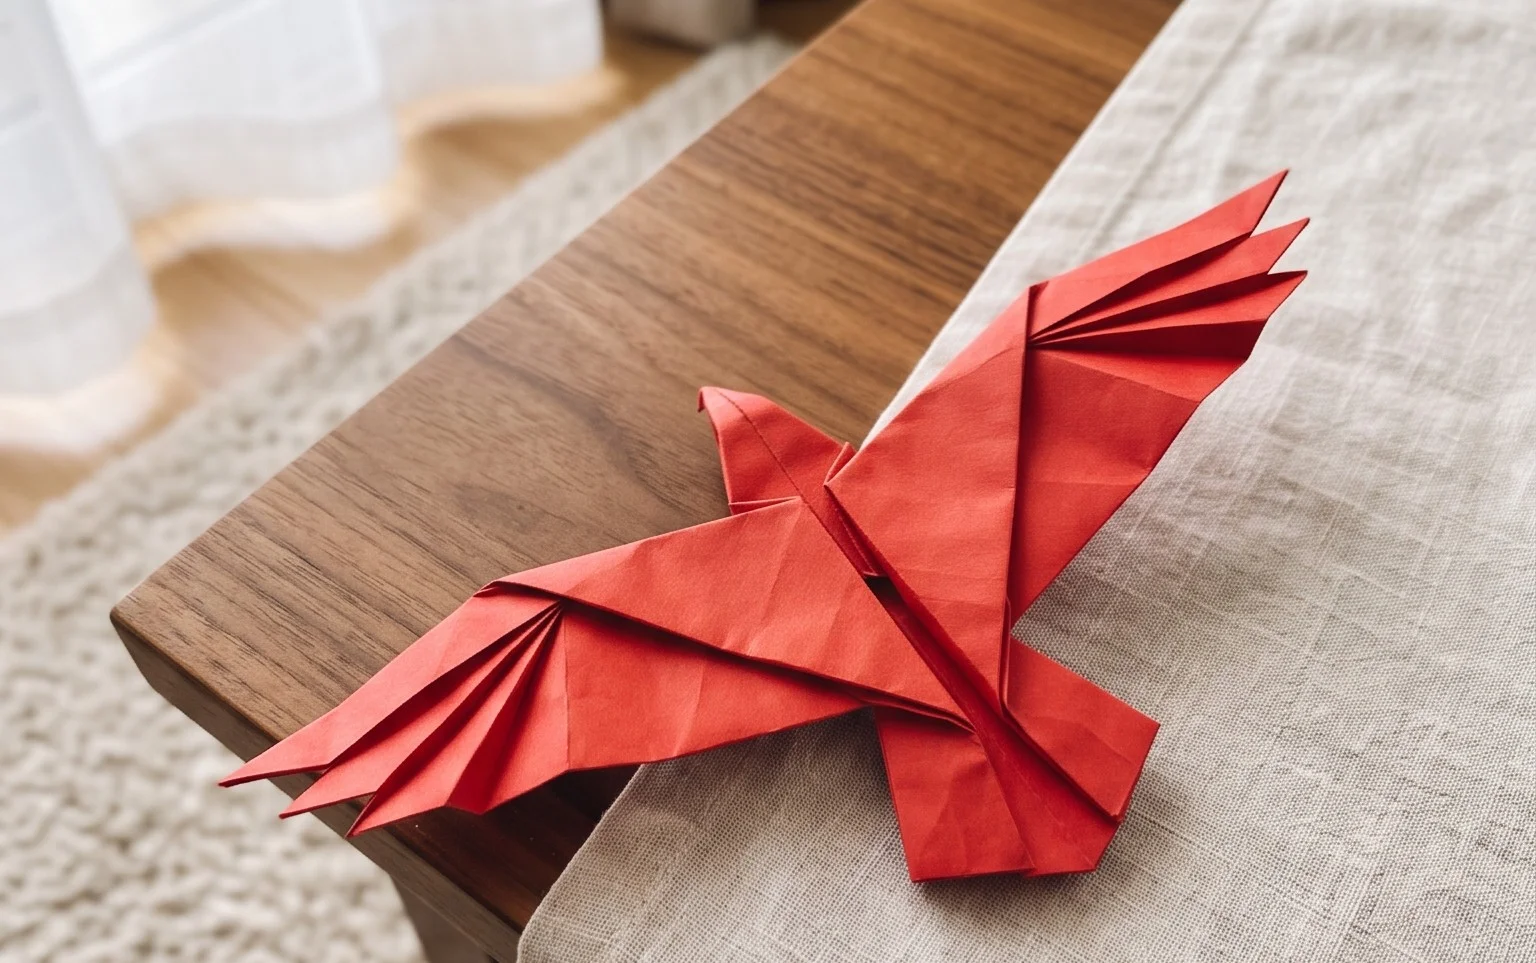
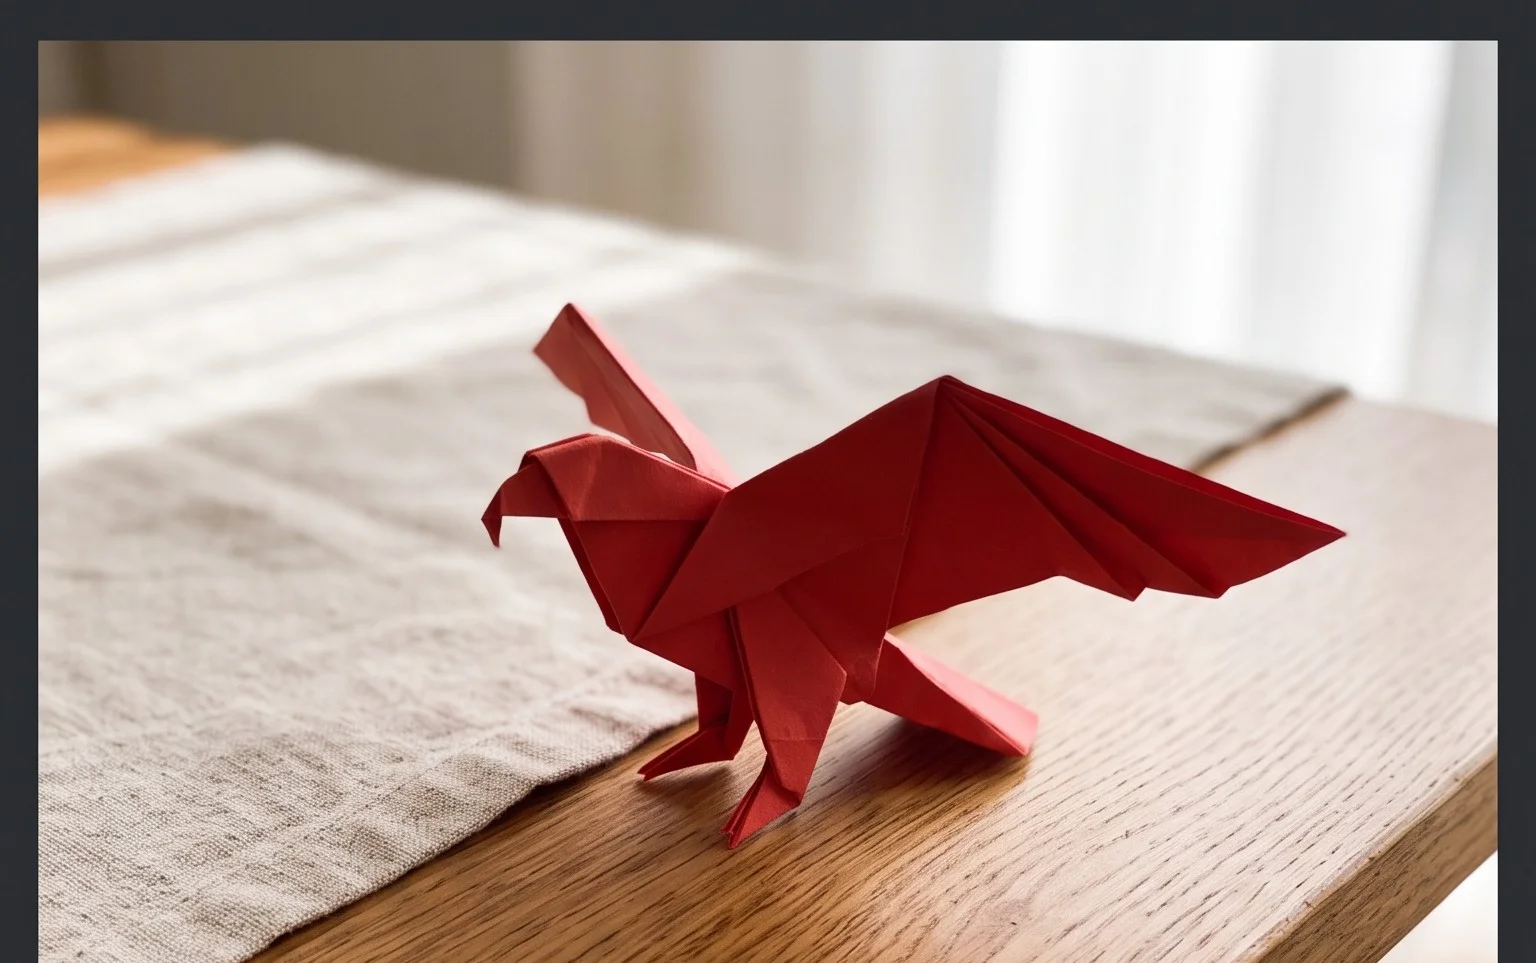
Origami Eagle: Step-by-Step Instructions await you! Get ready to transform a simple sheet of paper into a magnificent, majestic eagle, wings outstretched as if ready to soar. This beautiful model, with its sharp beak and proud stance, is perfect for anyone looking for a touch of the wild in their paper creations. It’s a fantastic project for complete beginners and kids aged 8 and up, and makes for a truly impressive handmade gift or a striking piece of room decor. In about 20-30 minutes, you’ll master a series of fundamental origami folds and discover how to bring this powerful avian to life. Let’s get folding and create something truly special together!
Origami Eagle: Step-by-Step Instructions
Hello there! I’m so excited to guide you through creating your very own origami eagle. This majestic bird is a wonderful project for anyone looking to practice some classic origami techniques and end up with a truly impressive result. Don’t worry if you’re new to origami; I’ll break down every step in a way that’s easy to follow, even without diagrams. We’ll go at a relaxed pace, ensuring you understand each fold. Let’s get started on bringing this beautiful eagle to life!
Choosing Your Paper
The first thing we need is the right paper. For an origami eagle, the type of paper you choose can make a big difference in how your finished model looks and feels.
Type: The best paper to start with is standard origami paper, often called kami. This paper is specifically designed for folding – it’s thin enough to fold precisely but strong enough to hold creases. It’s also usually coated, which gives it a nice crispness. You can also experiment with other papers once you’re comfortable. Slightly thicker paper like Tant or even cardstock (though this is much harder to fold) can give your eagle a more robust feel, but for your first attempt, stick to kami.
Weight: Origami paper typically comes in weights of around 70-80 gsm (grams per square meter). This is a good weight for most models, including our eagle. If you use paper that’s too thin, your folds might not hold well, and the model might be a bit flimsy. Paper that’s too thick will be very difficult to crease accurately, especially as the model gets more complex.
Size: For this eagle, a square piece of paper that’s 6 inches (15 cm) or 8 inches (20 cm) on each side is a great starting point. Larger paper is generally easier for beginners to manage, as it gives you more room to maneuver and see your creases. If you’re feeling adventurous, you can try a larger size later on, but 6 or 8 inches is perfect for learning.
Single or Double Sided: For an eagle, I highly recommend using single-sided origami paper. This means one side is coloured, and the other is white. Typically, you’ll want the coloured side to be the exterior of your eagle. This gives a beautiful contrast and makes the details of the wings and head stand out. If you only have double-sided paper, that’s perfectly fine too! Just be mindful of which colour you want facing outwards for your final model.
Understanding Base Folds
Before we dive into the eagle itself, let’s make sure we’re comfortable with some fundamental origami folds. These are the building blocks of many origami models.
The Valley Fold: A valley fold is probably the simplest fold. You bring one edge or corner to meet another edge or corner, and then crease along the line where they meet. If you imagine looking at the paper from above, the crease looks like a “V” shape, like a valley.
The Mountain Fold: A mountain fold is the opposite of a valley fold. You fold the paper away from you along a line. If you imagine looking at the paper from above, the crease looks like an inverted “V”, like a mountain peak. Often, you’ll make a valley fold first and then unfold it, leaving a crease. Then, you’ll fold along that same crease, but in the opposite direction (a mountain fold), to achieve the desired shape.
The Preliminary Base: This is a fundamental base in origami. To make it:
1. Start with your square paper, coloured side up (if using single-sided paper).
2. Fold the paper in half horizontally, bringing the bottom edge up to meet the top edge. Crease well.
3. Unfold.
4. Fold the paper in half vertically, bringing the left edge over to meet the right edge. Crease well.
5. Unfold.
6. Now, turn the paper over so the white side is facing up.
7. Fold the paper in half diagonally, bringing the bottom left corner up to meet the top right corner. Crease well.
8. Unfold.
9. Fold the paper in half diagonally again, bringing the bottom right corner up to meet the top left corner. Crease well.
10. Unfold.
11. You should now have creases forming an asterisk (*) pattern. With the white side still up, gently push the left and right edges towards the centre. The top point should naturally come down to meet the bottom point, collapsing the paper into a smaller square. This is your preliminary base. Ensure all the layers are neatly aligned.
The Origami Eagle: A Step-by-Step Walkthrough
Now that we’re ready with our paper and have a basic understanding of folds, let’s begin building our eagle! We’ll be working with the preliminary base.
1. Start with your preliminary base, with the open end pointing towards you and the closed point away from you. Ensure the coloured side of the paper is facing outwards.
2. Take the top layer of the right flap and fold its bottom edge to meet the centre vertical crease. Make a sharp crease.
3. Repeat step 2 with the top layer of the left flap, folding its bottom edge to meet the centre vertical crease. You should now have two folded flaps meeting in the middle, resembling a kite shape.
4. Now, take the very top triangular flap that you just created by folding down the two side flaps. Fold this entire triangular flap downwards, so its point meets the bottom point of the kite shape. Crease firmly.
5. Unfold the last three folds you made (the two side flaps and the top triangle). You’ll see the creases you’ve made.
6. Now we’re going to do an inside reverse fold on the two side flaps. Carefully lift the right flap upwards. Using the creases you just made as guides, open up the flap slightly and fold it inwards, so that the edge you previously folded to the centre crease now sits along the centre crease, but inside the model. The fold line will run diagonally from the top point down to the bottom. This might feel a bit tricky the first time, but the creases you made will guide you. Ensure the edges align neatly with the centre crease.
7. Repeat step 6 on the left flap, performing an inside reverse fold. Both sides should now have a pointy flap folded inwards.
8. Now we need to make the legs of the eagle. Take the entire model and fold it in half upwards along the centre vertical crease, so that the two newly formed flaps are on the outside. This means you’re essentially folding the model in half lengthwise. Ensure everything lines up perfectly.
9. We will now shape the wings. Take the top layer of the right side. You’re going to fold this flap downwards and outwards, away from the body. The angle of this fold will determine the position of the wing. A good starting point is to align the top edge of this flap with the bottom edge of the entire model. Crease firmly.
10. Repeat step 9 with the top layer of the left side, folding the wing down and out at the same angle as the right wing.
11. Now let’s form the head. Look at the pointy end of the model (which will become the eagle’s head and beak). We’re going to perform another inside reverse fold here. Gently pull the tip outwards and upwards. Then, fold it back on itself *inside* the model, creating a smaller point for the head. The exact angle here is up to you and will shape the head. A slight angle downwards will give the impression of a beak.
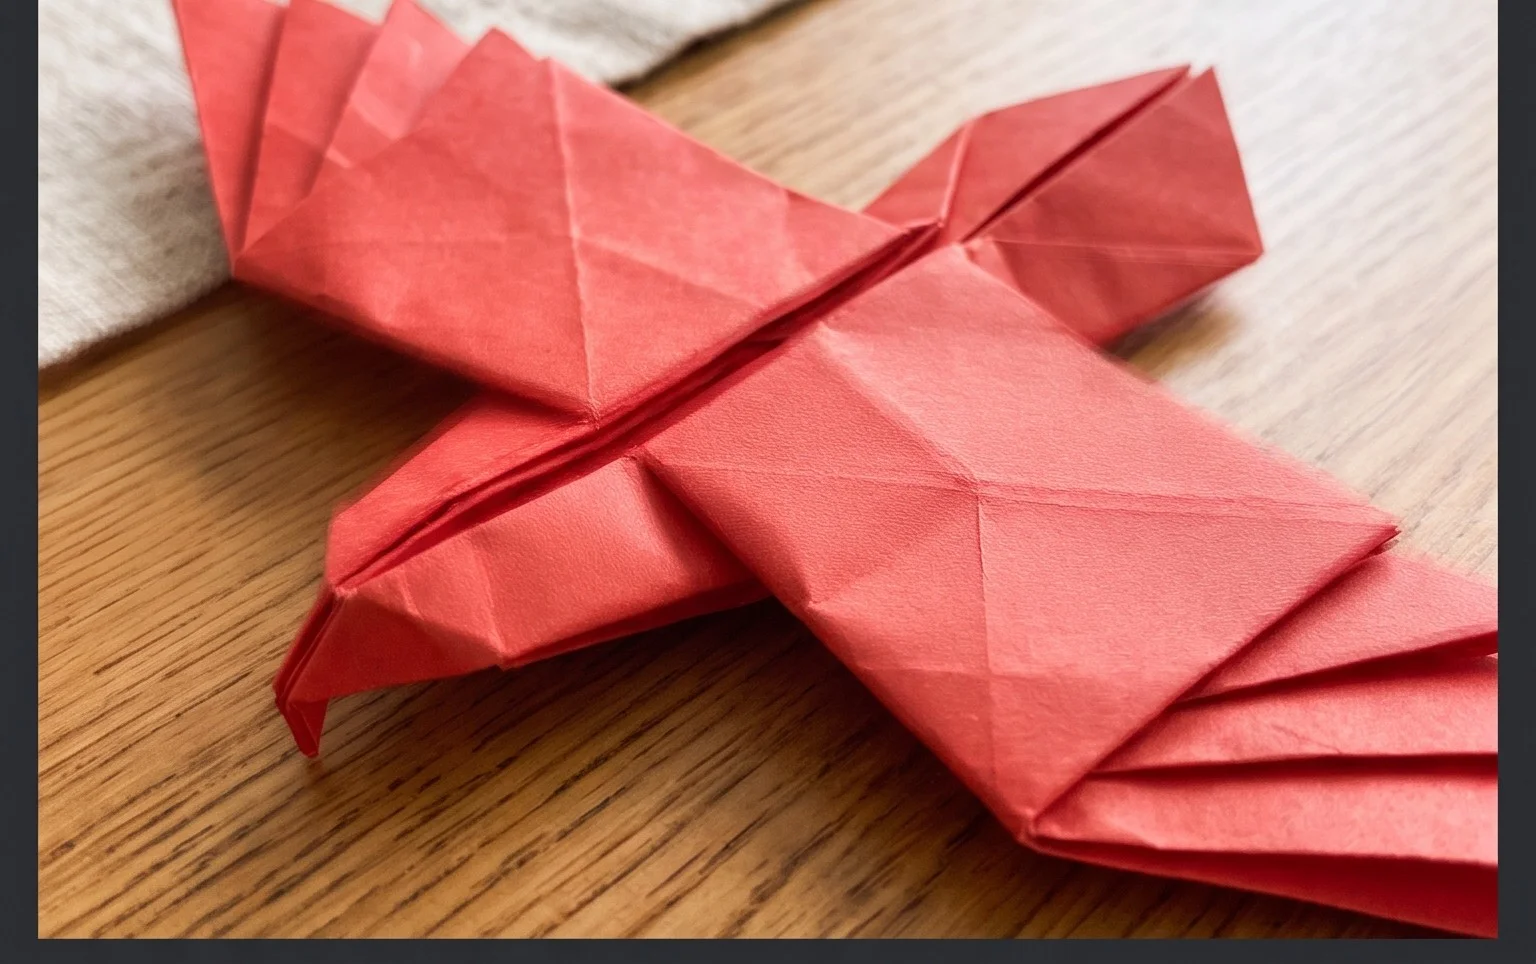
12. Finally, to give the eagle a bit of dimension, you can gently pull the wings outwards and slightly upwards, away from the body. You can also gently pull the tail section downwards to create a more spread-out tail.
Congratulations! You’ve made your origami eagle!
Common Beginner Pitfalls and How to Avoid Them
Even with clear instructions, it’s easy to stumble when you’re learning. Here are a couple of places beginners often go wrong with this model, and how to avoid them:
Misaligning Folds: This is probably the most common issue. When you’re asked to bring a corner to an edge or an edge to a crease, be precise.
* How to avoid it: Take your time. Don’t rush your creases. Before you make a firm crease, lay the paper down and visually check that the corners or edges are perfectly aligned. If they’re slightly off, gently adjust them before creasing. Sharp creases are important, but perfect alignment is more crucial for a neat final model.
Inside Reverse Folds: These can be fiddly, especially the ones that form the body and the head.
* How to avoid it: The key to a successful inside reverse fold is to have very clear pre-creases from the earlier steps. Make sure you’ve made those initial valley folds very sharp. When you’re ready to perform the inside reverse fold, gently open up the flap along the existing crease. Imagine you’re ‘reversing’ the crease so it folds inwards instead of outwards. Work slowly and use the pre-creases as your guide. Don’t be afraid to unfold and try again if it doesn’t look right.
Varying Your Origami Eagle
Once you’ve mastered the basic eagle, the fun really begins with variations!
Size: The simplest way to vary your eagle is by changing the size of the paper. Use a larger square for a grander eagle, or a smaller square for a more miniature version. Just remember that smaller paper requires more delicate and precise folding.
Paper Pattern: Experiment with patterned origami paper! You can find paper with feathers, wood grains, or even metallic finishes. These can give your eagle a unique and striking appearance. Just ensure the pattern doesn’t overpower the shape of the bird itself.
Colour: While we typically associate eagles with browns and whites, why not get creative? Try using a striking blue for a fantasy eagle, or a deep red for a fiery bird. The possibilities are endless! You can also try using iridescent paper for a shimmery effect.
Displaying and Gifting Your Creation
Your finished origami eagle is a work of art, and it deserves to be showcased!
Display:
* On a Shelf: A well-creased origami eagle looks fantastic perched on a bookshelf or a desk.
* In a Shadow Box: For a truly elegant display, mount your eagle inside a shadow box. You can add a small plaque with its name or the date you made it.
* As Part of a Larger Scene: If you’re into dioramas, your eagle can be the majestic centrepiece of a paper forest or a mountain landscape.
Gifting:
* As a Bookmark: A smaller eagle can make a charming and unique bookmark for a book lover.
* On a Gift Card: Attach a small origami eagle to a gift card for an extra personal touch.
* As a Standalone Gift: A beautifully crafted origami eagle, especially when made with special paper, makes a thoughtful and impressive gift for anyone who appreciates handmade items or has an interest in birds. You could even present it in a small gift box.
I hope you’ve enjoyed this journey into origami eagle folding. Remember, practice makes perfect, so don’t be discouraged if your first few attempts aren’t exactly what you envisioned. Keep folding, keep experimenting, and most importantly, have fun!
Conclusion
Congratulations on completing your Origami Eagle! We hope you enjoyed this folding adventure. Don’t worry if your first origami eagle isn’t perfect; every fold is a learning opportunity, and practice truly makes the master. We encourage you to try it again, and each time you’ll find yourself more confident and skilled.
Once you’re happy with your magnificent creation, why not share your beautiful origami eagle with friends and family? They’ll surely be impressed!
Ready for More?
For your next challenge, consider trying an origami hawk or a simpler origami dove. And remember, the world of paper crafting is vast and exciting. Explore more origami projects and discover the joy of transforming a simple sheet of paper into something extraordinary.