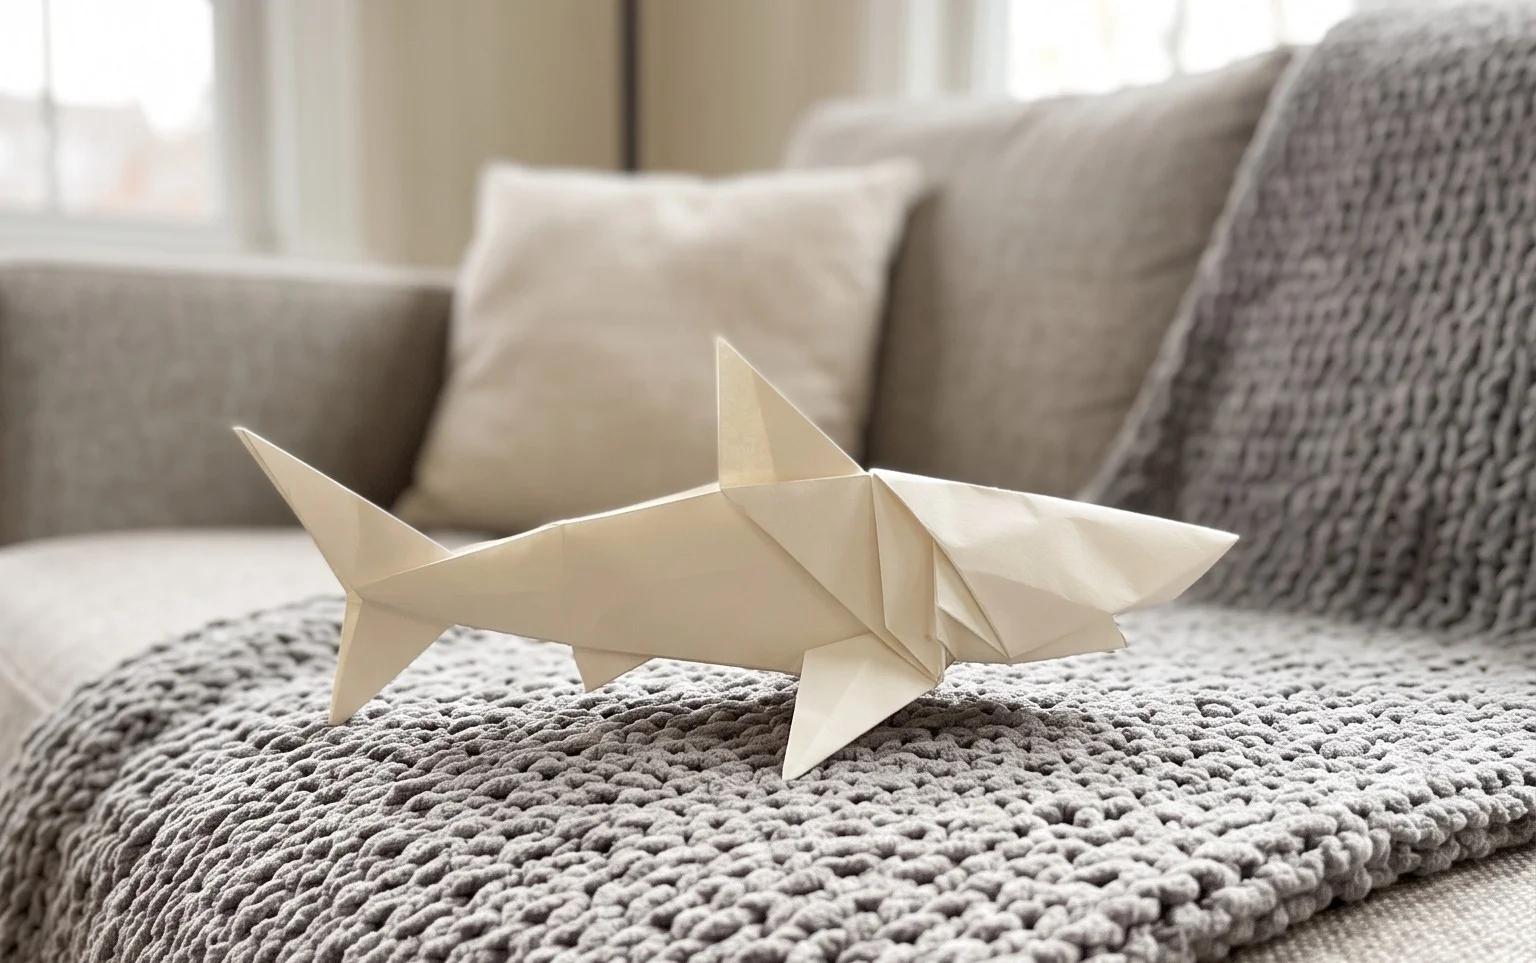
Origami Shark! Are you ready to dive into the exciting world of paper folding and create your very own fearsome (but friendly!) ocean dweller? In this tutorial, we’ll guide you step-by-step to fold a fantastic origami shark. Imagine a sleek, triangular body with a distinctive dorsal fin slicing through the water, ready to make a splash on your desk or as a cool decoration. This project is perfect for complete beginners, older kids looking for a fun challenge, or anyone wanting to make a unique handmade gift. It should take you around 10-15 minutes from start to finish. You’ll learn essential origami folds like mountain and valley folds, how to create sharp creases, and how to transform a simple square of paper into a recognizable creature. Let’s get folding!
Origami Shark: Step-by-Step Instructions
Hello there! I’m so excited to guide you through creating your very own origami shark. Origami can seem a little intimidating at first, especially when you’re trying to follow instructions without diagrams, but I promise we’ll take it slow and make sure every step is crystal clear. Sharks are such fascinating creatures, and folding one out of paper is a wonderfully satisfying way to bring a bit of their power and elegance to your desk or shelf. This model is a fantastic project for beginners, and by the end, you’ll have a fearsome (but friendly!) paper predator to admire.
Choosing Your Paper
The right paper can make a big difference in your origami experience. For this shark, I highly recommend using standard origami paper. This type of paper is designed to hold creases well and is thin enough to allow for multiple folds without becoming too bulky. Look for paper that is square, of course. A common size for beginners is 6 inches by 6 inches (or 15 cm by 15 cm). This size is manageable and allows you to practice the folds without straining your fingers.
Regarding weight, a standard origami paper usually falls between 70-90 gsm (grams per square meter). This is perfect for this model. Avoid very thin paper like printer paper, as it can tear easily with sharp creases, and avoid cardstock, as it’s too thick for the smaller, intricate folds needed for the shark’s fins and tail.
For this particular shark model, whether your paper is single-sided or double-sided doesn’t matter much. However, if you have double-sided paper with different colours on each side, it can lead to a really striking effect, especially if you choose colours that complement each other. For example, you could use a blue side for the body and a white side for the belly, or a grey shark with a white underside. If you’re using single-sided paper, just be mindful of which side you want to be the primary colour of your shark and start with that side facing down.
The Base Folds: Building the Foundation
Before we dive into the shark itself, we need to create a couple of foundational folds. These are common in many origami models and are essential for getting a clean start.
The first base fold we’ll use is the “Square Base.” To make this:
- Start with your square piece of paper. If you have a coloured side and a white side, place the coloured side facing down towards you.
- Fold the paper in half diagonally, bringing the bottom left corner up to meet the top right corner. Crease firmly along the fold. You should now have a triangle.
- Unfold the paper.
- Now, fold the paper in half diagonally again, this time bringing the bottom right corner up to meet the top left corner. Crease firmly.
- Unfold the paper. You should now have two diagonal creases forming an “X” on your paper.
- Flip the paper over so the coloured side is facing up.
- Fold the paper in half horizontally, bringing the bottom edge up to meet the top edge. Crease firmly.
- Unfold the paper.
- Fold the paper in half vertically, bringing the left edge over to meet the right edge. Crease firmly.
- Unfold the paper. You should now have creases forming an “X” and a plus sign “+” on your paper.
- Now, gently push the left and right edges inwards towards the centre, following the horizontal crease. As you do this, the top point will naturally come down to meet the bottom point. Flatten the paper down into a smaller square. This is your Square Base. Make sure the open edges are all at the bottom point.
The second base fold we’ll utilize is the “Kite Base.” This is built upon our Square Base.
- Start with your Square Base, ensuring the open end is facing you.
- Take the top layer of the right flap. Bring the right edge of this flap over to meet the centre vertical crease. Crease firmly.
- Repeat this with the top layer of the left flap, bringing its left edge over to meet the centre vertical crease. Crease firmly. You should now have a shape that looks a bit like a kite.
- Now, take the top triangular flap that you just created. Fold this entire flap down, so the tip of the triangle meets the point where the two previous folds intersected at the centre. Crease firmly.
- Unfold the last two folds you made (the two kite flaps and the top triangle). You should see crease lines on the top layer.
- Lift up the very top layer of paper at the bottom point. Using the creases you just made as guides, ‘petal fold’ this layer upwards. To do this, lift the paper upwards and inwards, allowing the sides to fold inwards along the creases you made. Flatten the paper so you have a long, diamond-like shape on top. The bottom point of this diamond will be the tip of your future shark’s head.
- Flip the entire model over.
- Repeat steps 2 through 6 on this side. Bring the right edge of the top layer to the centre crease, then the left edge to the centre crease. Fold the top triangle down. Unfold these three folds. Then, lift the bottom point and petal fold the top layer upwards using the creases.
You now have what is often called a “Bird Base,” a very common and versatile origami base.
The Fold Sequence: Bringing Your Shark to Life
Now that we have our Bird Base, we’re ready to transform it into a shark!
- Begin with your Bird Base. Make sure the open end (where the four flaps are) is pointing downwards. The closed, pointed end will be the front of your shark.
- Take the top right flap. Fold its outer edge to meet the centre vertical crease. Crease firmly.
- Take the top left flap. Fold its outer edge to meet the centre vertical crease. Crease firmly. You’ll notice the front of your model now looks more pointed.
- Flip the entire model over.
- Repeat steps 2 and 3 on this side: fold the top right flap’s outer edge to the centre crease, and then the top left flap’s outer edge to the centre crease.
- Now, look at the bottom of your model. You should see two long, thin points sticking down. These will become the tail of your shark. Take one of these points and fold it upwards at an angle, about halfway up the body of the model. This will be the top part of your shark’s tail. Crease firmly.
- Flip the model over.
- Take the other bottom point and fold it upwards at the same angle as the first one, so it aligns with the first tail flap. This creates the symmetrical tail. Crease firmly.
- Now, we’re going to create the shark’s body shape. Look at the long, pointed front of your model. We need to thin this down. Take the right side of the front point and fold it inwards so the edge meets the centre crease. Crease firmly.
- Do the same on the left side: fold the left edge of the front point inwards to meet the centre crease. Crease firmly. This has narrowed the front considerably.
- Flip the model over.
- Repeat steps 9 and 10 on this side. Fold the right edge of the front point to the centre crease, and then the left edge to the centre crease. Your shark is starting to take shape!
- Now, let’s make the head. At the very front of your shark, you have a pointy tip. We’re going to make a small fold here to create the snout. Take the tip and fold it downwards, about half an inch (or 1-1.5 cm). Crease firmly. This creates a blunt nose.
- To make the mouth, we need to create a small slit. Look at the underside of the shark’s head, just behind the snout you just folded down. Gently push the tip of a pair of scissors or a craft knife into this area and make a small, straight cut, about half an inch (or 1-1.5 cm) long, parallel to the snout fold. This cut will be the opening for the mouth. Be very careful with scissors!
- Now, slightly open the cut you just made. We want to create the lower jaw. Gently pull the paper downwards from the cut to create a slight V-shape. This will give your shark a more menacing grin.
- Finally, we’ll shape the tail. You have two flaps forming the tail. To give it a more dynamic look, we’re going to make an “inside reverse fold” on each flap. For the top tail flap, gently pull it outwards. Then, open the fold slightly and push the tip of the flap inwards along the existing crease line, then flatten it. Do the same for the bottom tail flap. This will make the tail look more like a fin.
- You can now gently adjust the folds to make your shark look more three-dimensional. Gently pull on the body to give it some volume and shape the tail fins slightly. Congratulations, you’ve folded an origami shark!
Common Beginner Pitfalls and How to Avoid Them
It’s completely normal to encounter a few tricky spots when you’re learning origami. Here are a couple of places beginners often go wrong with this shark model, and how to prevent them:
1. Fuzzy or Uneven Creases: This is probably the most common issue. Origami relies on crisp, clean folds to make subsequent steps work correctly. If your creases aren’t sharp, the paper won’t align properly later on, leading to a messy-looking model or folds that don’t fit together.
* How to Avoid: When making a fold, align the edges and corners precisely. Then, use your fingernail or a bone folder (if you have one) to run firmly along the entire length of the fold. Think of it like ironing your paper. Don’t be afraid to apply a good amount of pressure. Also, make sure you’re folding on a flat, hard surface.
2. Confusing Layers or Sides: Sometimes, especially in the Bird Base creation and subsequent folds, it’s easy to get mixed up about which layer of paper you should be folding. If you fold the wrong layer, you’ll end up with a different shape than intended.
* How to Avoid: Always pay close attention to the instructions that specify “top layer” or “flip the entire model over.” When you’re asked to fold a specific flap, make sure you’re only folding that single layer of paper. If you’re unsure, stop and carefully examine which part of the paper the instruction is referring to. It can be helpful to hold the model up and look at it from different angles to confirm you’re working on the correct section.
3. The Mouth Cut: This is a final step, but it can be tricky if you’re not careful. Cutting too deep, too shallow, or at the wrong angle can make the mouth look odd or even damage the model.
* How to Avoid: Use a sharp craft knife or a very sharp pair of small scissors. Make the cut on the underside of the shark’s head, where the snout meets the body. Aim for a straight, shallow cut that’s about the length of your snout fold. It’s better to make a slightly shorter cut and then gently stretch the paper open to create the mouth shape than to make a long, deep cut that might rip the paper. Remember, the goal is to create a small opening to form the lower jaw.
Varying Your Origami Shark
One of the joys of origami is the endless potential for customization. Here’s how you can make your shark unique:
- Size: The easiest way to vary your shark is by using different sized square paper. If you start with a larger piece of paper, you’ll end up with a larger shark, and vice-versa. Just make sure to maintain the proportions in your folds.
- Paper Pattern: Experiment with patterned origami paper! Papers with subtle textures, geometric designs, or even a gradient can give your shark a completely different personality. Imagine a shark with a subtle wave pattern or a metallic sheen!
- Colour: As mentioned earlier, double-sided paper is fantastic for creating multi-coloured sharks. Think about a bright blue shark with a white belly, or a cool grey with a darker grey underside. You can also use plain coloured paper and then, after folding, add details with markers or coloured pencils – perhaps to add eyes, gills, or even some battle scars!
- Adding Details: Don’t stop at the folds! Once your shark is complete, you can draw on eyes with a fine-tip black marker. You could also add tiny teeth by making very small, careful cuts along the edge of the mouth opening.
Displaying and Gifting Your Origami Shark
Your finished origami shark is more than just a folded piece of paper; it’s a piece of art! Here are some ideas for showcasing your creation:
- Desk Companion: Place your shark on your desk at work or home. It’s a great conversation starter and a fun reminder of your crafting skills.
- Shelf Display: Arrange a collection of sharks in different sizes and colours on a shelf. You can group them together to create a “school” of sharks.
- Mobile: If you’ve made several smaller sharks, you could attach them to threads and hang them from a mobile frame. This would be a wonderful decoration for a child’s room.
- Gifting: An origami shark makes a thoughtful handmade gift. It’s perfect for birthdays, as a small token of appreciation, or for anyone who loves marine life. You could even attach it to the top of a gift box or present it in a small clear box.
- Educational Tool: For children, an origami shark can be a fun way to learn about different sea creatures and practice fine motor skills.
I hope you’ve enjoyed folding this origami shark with me. Remember, practice makes perfect, so don’t be discouraged if your first few attempts aren’t exactly as you imagined. Each fold is a step towards mastery. Happy folding!
Conclusion
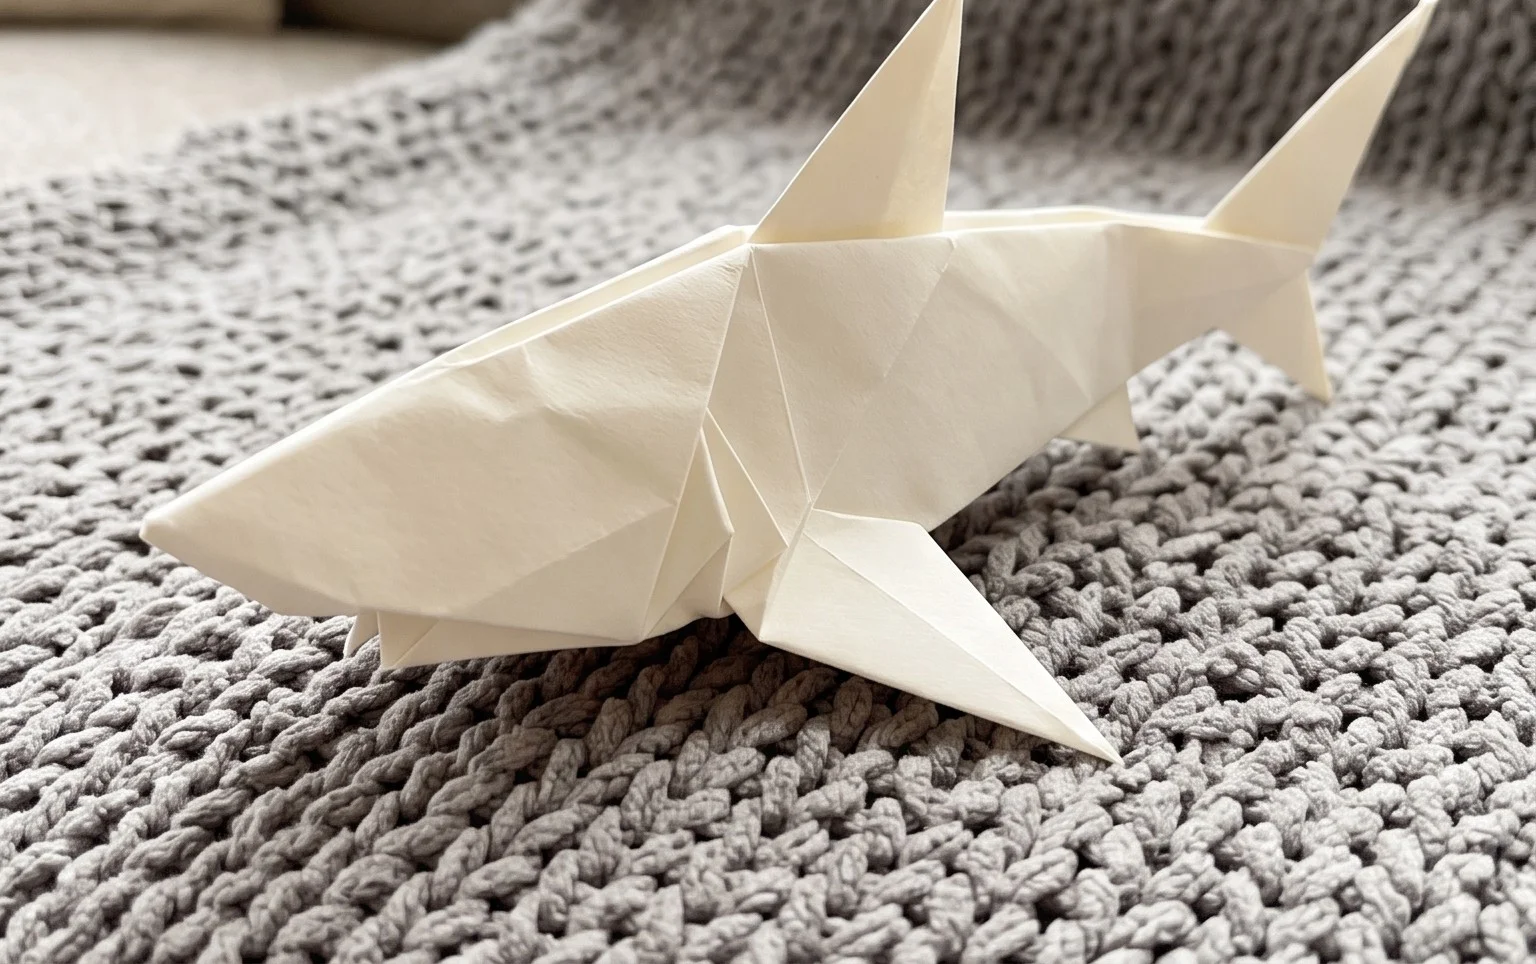
Congratulations on folding your very own origami shark! We hope you enjoyed this journey into the world of papercraft. Don’t worry if your first attempt isn’t perfect; every fold is a step towards mastery, and practice makes perfect. We encourage you to share your impressive origami shark with friends and family!
Next Steps:
Feeling inspired? Try folding your origami shark in a different color paper, or perhaps try a smaller scale. For your next adventure, consider the majestic origami dragon or the graceful origami crane. There are endless possibilities waiting for you to discover in the wonderful world of paper folding!