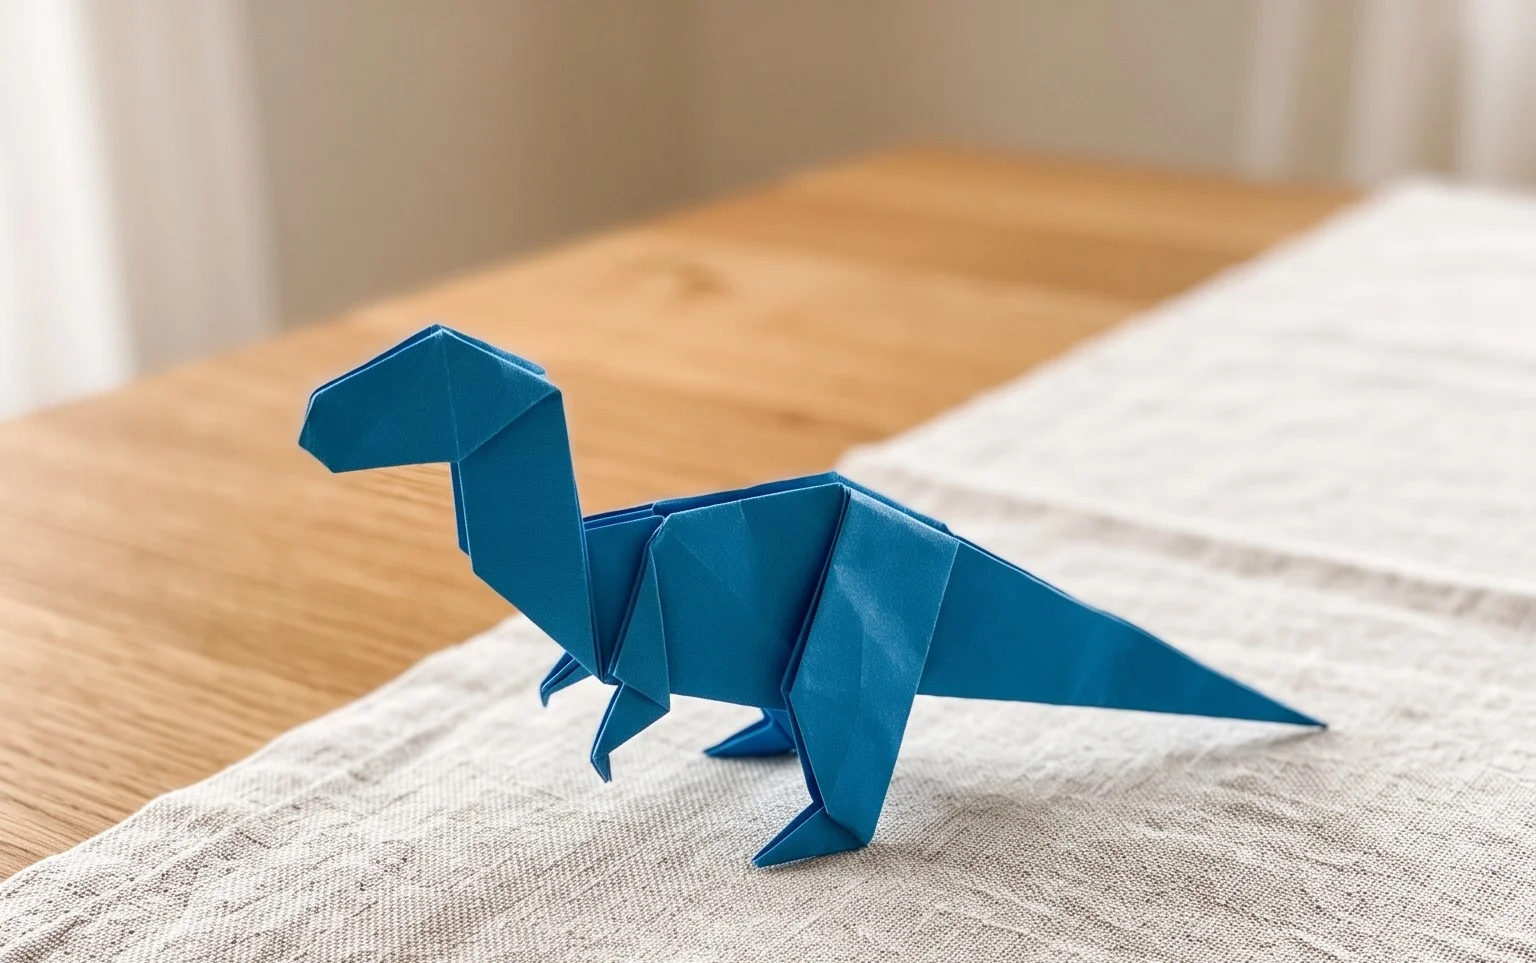
Origami Dinosaur: Step-by-Step Instructions will guide you on a prehistoric adventure right at your craft table! Imagine a fearsome T-Rex or a graceful Brontosaurus taking shape from a single sheet of paper, with its distinctive head, sturdy body, and powerful tail. This model is perfect for complete beginners and kids alike, making it a fantastic weekend project that typically takes around 30-45 minutes. Whether you’re looking for a fun activity, a unique decoration, or a handmade gift for a fellow dinosaur enthusiast, you’ll be mastering the fundamental folds of origami and creating a charming dino friend. Let’s get folding and bring these ancient creatures back to life!
Origami Dinosaur: Step-by-Step Instructions
Hello origami enthusiasts! I’m so excited to guide you through creating your very own origami dinosaur. This is a fantastic model for beginners, and while it has a few steps, each one is quite straightforward when broken down. We’ll be making a classic, friendly-looking dinosaur, perfect for decorating your desk, gifting to a friend, or even starting a mini-menagerie. Let’s get folding!
Choosing Your Paper
The right paper can make a big difference in how your origami turns out. For this dinosaur, I recommend:
- Type: Standard origami paper is ideal. It’s crisp, holds creases well, and is designed specifically for folding. If you don’t have origami paper, good quality printer paper (around 80gsm) can work, but it might be a little stiffer and less forgiving.
- Weight: Aim for paper in the 60-80gsm range. This is light enough to fold neatly but strong enough to maintain its shape.
- Size: A square piece of paper around 6 inches (15 cm) is a great starting point for beginners. It’s manageable and easy to see your folds. If you’re feeling adventurous, you can certainly go larger or smaller once you’ve mastered the basic folds.
- Single or Double-Sided: For this dinosaur model, using single-sided paper will give you a plain coloured dinosaur. If you want a dinosaur with a different coloured belly or spine, you can use double-sided paper. For this tutorial, we’ll assume you’re using single-sided paper and the coloured side will be the outside of your dinosaur.
Understanding the Base Folds
Before we begin the dinosaur itself, let’s get familiar with a couple of fundamental origami folds. Practicing these first will make the rest of the process much smoother.
The Valley Fold
A valley fold is when you fold a piece of paper inwards, creating a crease that looks like a ‘V’ or a valley. You typically do this by bringing one edge or corner to meet another edge or corner, and then pressing down firmly along the line where they meet. The crease will be on the same side as you are looking at the paper.
The Mountain Fold
A mountain fold is the opposite of a valley fold. You fold the paper outwards, creating a crease that looks like an inverted ‘V’ or the peak of a mountain. To make a mountain fold, you usually fold along a crease line you’ve already made. If you have a valley fold, you can turn the paper over and push the crease inwards, making it pop out like a mountain.
The Square Base (or Preliminary Base)
This is a foundational base in origami and we’ll use it at the start.
- Start with your square piece of paper with the coloured side facing down (if using single-sided paper).
- Fold the paper in half horizontally, bringing the bottom edge up to meet the top edge. Crease firmly.
- Unfold.
- Fold the paper in half vertically, bringing the left edge over to meet the right edge. Crease firmly.
- Unfold. You should now have two intersecting creases that divide your square into four smaller squares.
- Turn the paper over so the coloured side is facing up.
- Fold the paper in half diagonally, bringing the bottom-left corner up to meet the top-right corner. Crease firmly.
- Unfold.
- Fold the paper in half along the other diagonal, bringing the bottom-right corner up to meet the top-left corner. Crease firmly.
- Unfold. You should now have an ‘X’ of creases and two perpendicular creases.
- Now, this is the clever part of the Square Base. Hold the paper with the coloured side up. Gently push the left and right edges inwards towards the center, along the horizontal crease. As you do this, the top and bottom points will naturally come together. Flatten the model down. You should now have a smaller square with four flaps. The open edges should be at the bottom. This is your Square Base. Make sure all your creases are sharp.
Origami Dinosaur: Step-by-Step Folding Sequence
Now that we’ve got our Square Base ready, let’s bring our dinosaur to life!
- Starting Position: Place your Square Base on the table with the open edges pointing towards you. The coloured side should be facing up.
- First Flap Fold: Take the top flap on the right side. Bring its right edge to meet the center vertical crease. Crease firmly.
- Repeat on Left: Take the top flap on the left side. Bring its left edge to meet the center vertical crease. Crease firmly. You should now have a shape that looks like a kite on top of a square.
- Top Triangle Fold: Take the small triangular flap at the very top of your model (formed by the two previous folds). Fold this triangle down, so its point meets the bottom point of the kite shape you just made. Crease firmly.
- Unfold the Top Flaps: Now, unfold the two side flaps (from steps 2 and 3) and the top triangle flap (from step 4). You should see the creases you’ve made.
- Petal Fold: This is a common origami move. Lift the bottom point of the very top layer of paper upwards. As you lift it, use the creases you made in steps 2, 3, and 4 to guide the paper. The sides will naturally fold inwards along those creases. Flatten the entire shape down. You should have a diamond shape now on the top layer.
- Repeat on the Other Side: Turn the entire model over. Repeat steps 2 through 6 on this new side. You will end up with a similar diamond shape on both sides. This is called the Bird Base.
- Forming the Legs/Neck and Tail: Look at your Bird Base. You’ll see two points at the bottom and two ‘legs’ pointing upwards. We’re going to use these. Take one of the bottom points (let’s call it the front point). Fold it upwards, aligning its tip with the top point of the model. Crease firmly.
- Repeat for the Other Bottom Point: Take the other bottom point (the back point) and fold it upwards, aligning its tip with the top point of the model, just like you did in step 8. Crease firmly. You should now have two long points sticking straight up.
- Opening the Model: Carefully open up the model a little. You’ll see that the folds you just made in steps 8 and 9 have created two flaps. We’re going to use these to form the neck and tail.
- Creating the Neck: Take one of the upward-pointing flaps. You can choose which one you want to be the neck. Fold it upwards at an angle. The exact angle depends on how you want your dinosaur’s neck to look – a gentle curve or a more upright pose. Crease firmly.
- Creating the Tail: Take the other upward-pointing flap. This will be the tail. Fold it upwards at an angle, generally lower than the neck angle, to give it a tail-like appearance. Crease firmly.
- Shaping the Head: Now, let’s give our dinosaur a head. Look at the tip of the flap you designated as the neck. You’re going to make a small ‘reverse fold’ to create the head. To do this, gently pull the tip of the neck flap outwards a little. Then, fold the very tip inwards, *between* the layers of the neck flap. This is a bit like tucking something away. Push the crease firmly. You’ll have a little head sticking out.
- Shaping the Tail (Optional Refinement): You can also give the tail a slight bend or a more refined point by making a small reverse fold similar to the head, but this is purely aesthetic and optional for beginners.
- Forming the Legs: Look at the bottom of your model. You should have two points sticking out. These will be the legs. You can leave them as they are for a simpler dinosaur, or you can fold them inwards slightly to make them look more like legs. To do this, take one of the leg points and fold it slightly inwards and upwards. Crease firmly. Repeat for the other leg.
- Final Adjustments: Gently adjust the neck, tail, and head to get the pose you like. Make sure all the creases are sharp to help your dinosaur stand.
Common Beginner Pitfalls and How to Avoid Them
Don’t worry if your first attempt isn’t perfect! Origami takes practice, and there are a few common places where beginners often get a little stuck. Here’s how to navigate them:
- Not Creasing Firmly Enough: This is probably the most common issue. Origami models rely on sharp, defined creases to hold their shape. If your creases are soft, the paper will feel floppy and won’t stand up well. To avoid: After each fold, use your fingernail or a bone folder (if you have one) to press down firmly along the crease line. Make sure the edges and corners line up precisely before you crease.
- Misinterpreting the Square Base or Bird Base: These bases are fundamental. If they aren’t made correctly, subsequent steps will be very difficult. The Petal Fold (step 6 in the sequence) can be particularly tricky. To avoid: Go back and carefully re-read and re-do the Square Base and Bird Base steps. Pay close attention to which side is facing up and where the open edges are. For the Petal Fold, ensure you’re lifting the *bottom point* of the *top layer* upwards, and letting the existing creases do the work of collapsing the sides inwards. Watching a video of these bases (even if you can’t use diagrams for the dinosaur itself) might be helpful here.
- Struggling with the Reverse Fold (Head): The reverse fold for the head can feel a bit awkward because you’re folding inside the model. To avoid: Don’t be afraid to gently pull the paper apart slightly to get your fingers inside. Imagine you’re tucking the tip of the neck flap *between* the layers of the neck. Focus on making a small, neat fold. If it doesn’t look perfect the first time, you can always unfold it and try again.
Varying Your Dinosaur
Once you’ve mastered the basic model, the fun really begins with variations! Here are some ideas:
- Size: As mentioned, try using larger or smaller squares of paper. A huge dinosaur made from a large sheet can be a real statement piece! Tiny dinosaurs from small scraps are adorable.
- Paper Pattern: Origami paper comes in an incredible array of colours and patterns. Try using patterned paper for a unique look. A dinosaur with a woodgrain pattern or even a subtle floral print can be surprisingly charming.
- Colour Combinations: If you use double-sided paper, you can choose colours that create interesting effects. For example, a blue top with a yellow belly, or a green top with a brown underside. Experiment with how you orient the paper at the start to influence which colours appear where.
- Adding Details: You can draw on eyes, nostrils, or even scales with fine-tipped markers after you’ve finished folding.
Displaying and Gifting Your Dinosaur
Your finished origami dinosaur is more than just a folded piece of paper; it’s a little work of art! Here are some ideas for showing it off or sharing it:
- Desk Buddy: It’s the perfect size to sit on your desk and keep you company while you work or study.
- Shelf Decor: Group a few together in different sizes and colours to create a charming display on a bookshelf or mantelpiece.
- Party Favors: If you’re hosting a party, especially a dinosaur-themed one, a collection of small origami dinosaurs makes wonderful, eco-friendly party favors.
- Gift Topper: Tie a small dinosaur to a gift box with a ribbon for a unique and personal touch.
- Part of a Diorama: Use your dinosaur in a larger origami scene or diorama, perhaps with origami trees or mountains.
- “Get Well Soon” or “Thinking of You” Gift: A handmade origami dinosaur is a thoughtful and cheerful way to let someone know you’re thinking of them.
I hope you’ve enjoyed folding your origami dinosaur! Remember, the most important thing is to have fun and be patient with yourself. Happy folding!
Conclusion
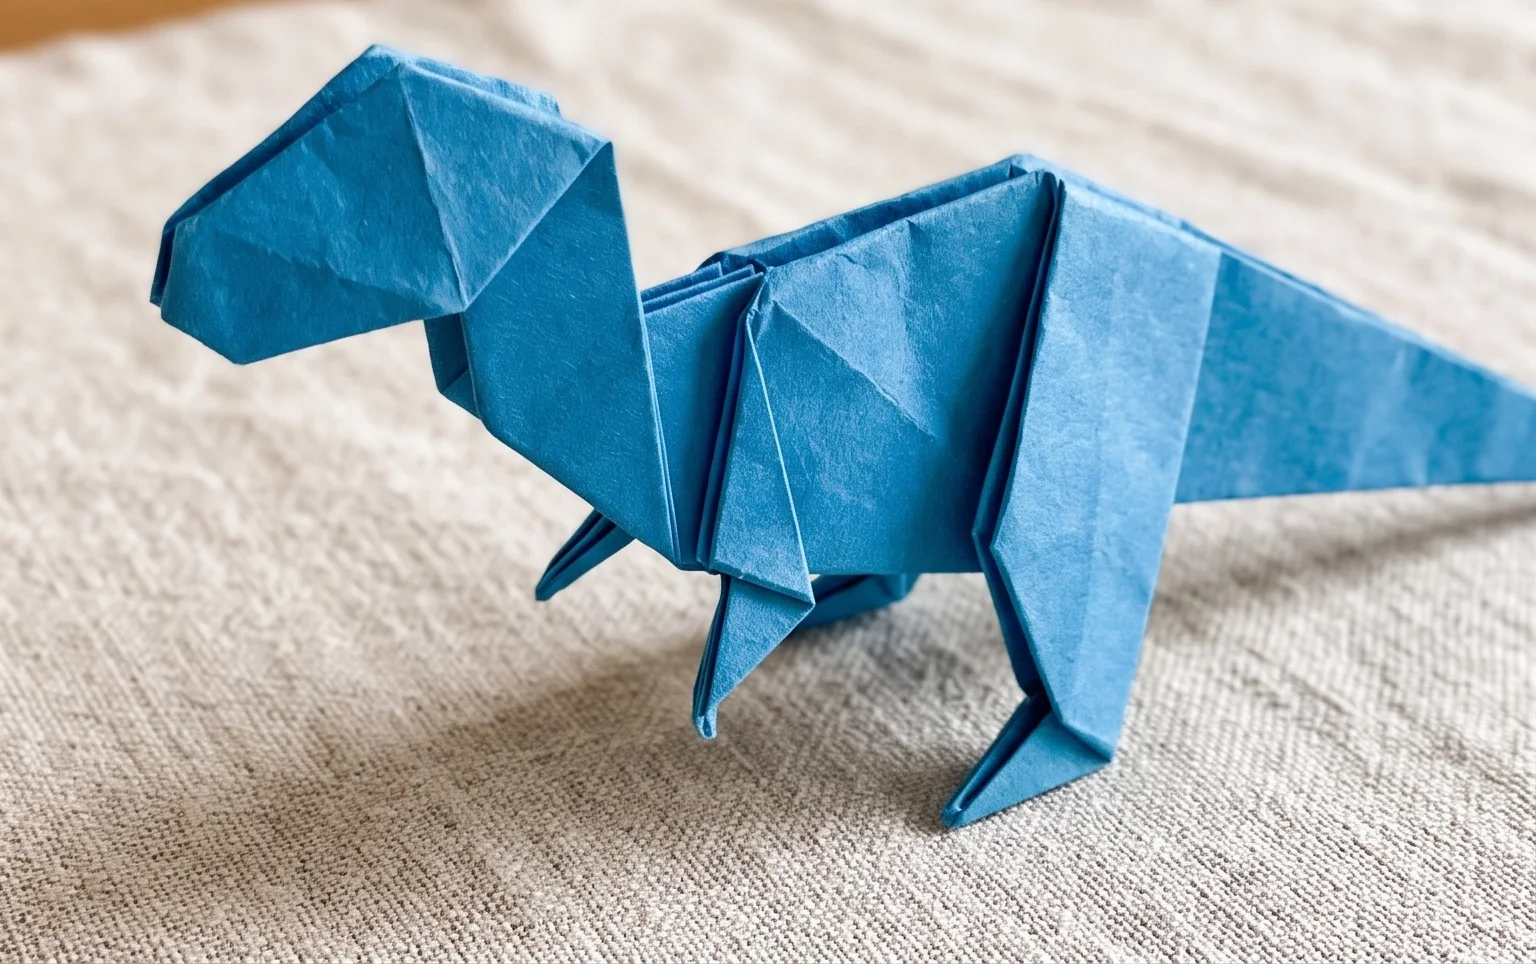
Congratulations on completing your very own origami dinosaur! Don’t worry if your first attempt isn’t perfect; practice makes perfect with any origami project. Enjoy your new paper creation! Consider sharing your magnificent origami dinosaur with friends and family – they’ll be amazed by your skills!
Ready for More?
Once you’ve mastered this dinosaur, why not try folding a Pterodactyl or a Triceratops next? The possibilities with origami are endless!
We hope you’ve enjoyed this tutorial and are inspired to explore more exciting paper projects with us soon. Happy folding!