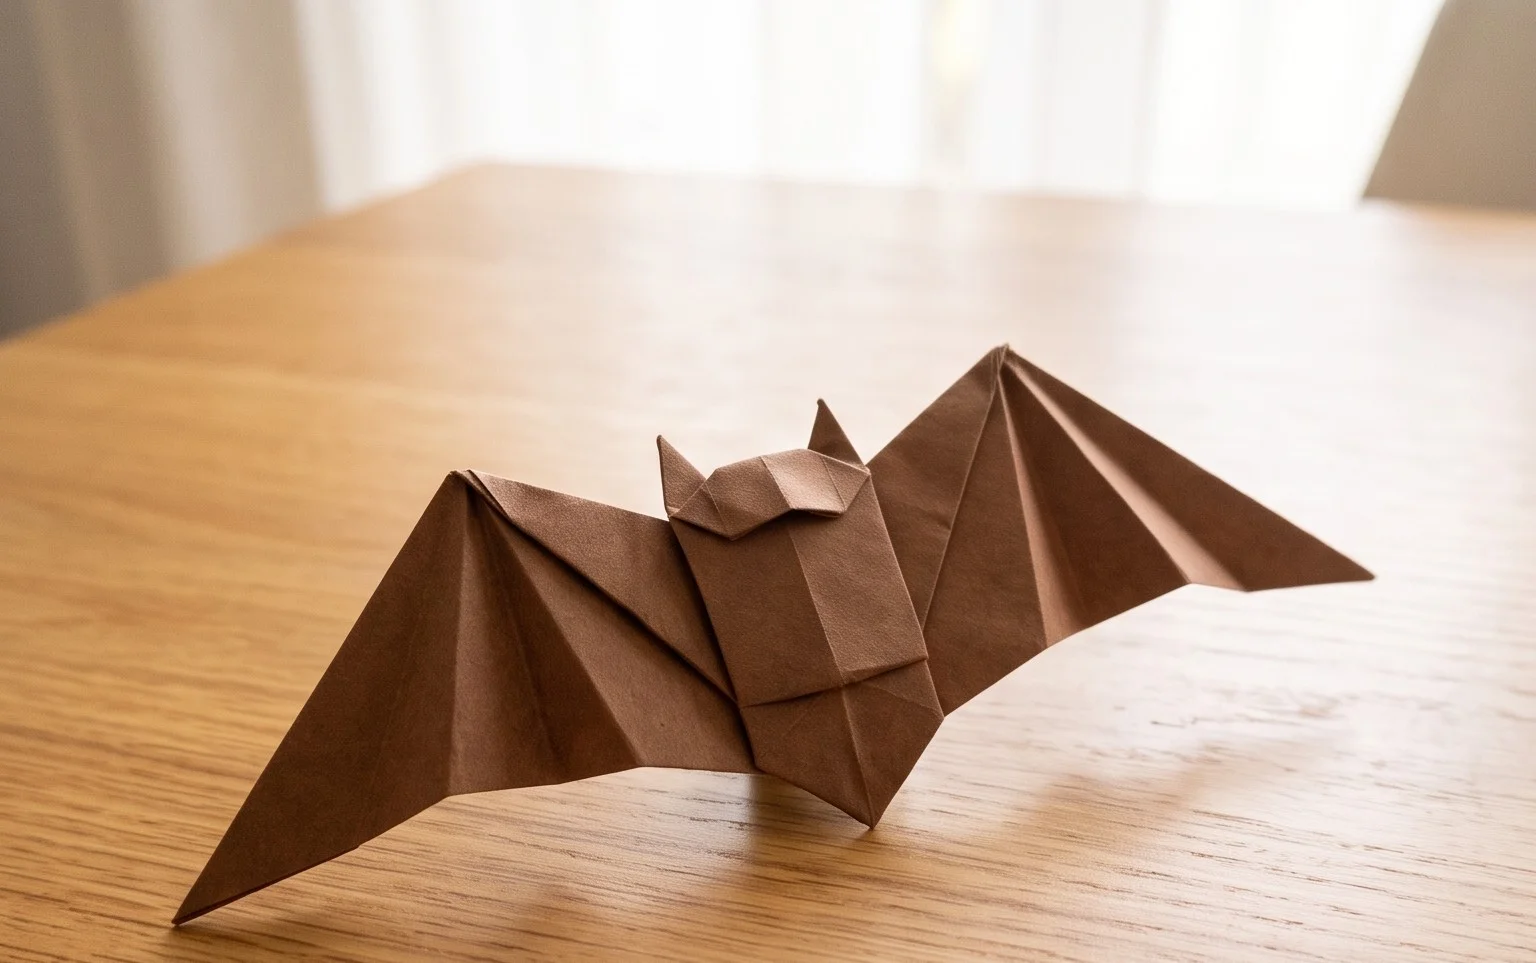
Origami Bat! Get ready for a spooktacularly simple craft with this easy Halloween paper tutorial. In just 8 steps, you’ll fold your way to a charming little bat, complete with pointed ears and wide, welcoming wings, perfect for perching on your bookshelf or greeting trick-or-treaters. This project is absolutely ideal for complete beginners and kids alike, making it a fantastic way to get into the Halloween spirit. You’ll have your own adorable origami bat ready to fly in under 15 minutes! We’ll walk through each fold clearly, so you can master the basics of paper folding and create a delightful decoration or even a fun little gift. Let’s get folding and bring this little creature to life!
Origami Bat: Easy Halloween Paper Tutorial In 8 Steps
Hello fellow origami enthusiasts and Halloween lovers! I’m so excited to guide you through making your very own origami bat. This is a wonderfully simple project, perfect for beginners, and it’s a fantastic way to get into the spooky spirit. We’ll break it down into just eight clear steps. Don’t worry if you’re new to origami; I’ll walk you through each fold with plenty of detail. We’ll also discuss common pitfalls and how to avoid them, and by the end, you’ll know how to customize your bat and even put your creations to good use!
Choosing Your Paper: The Foundation of a Fantastic Bat
Let’s start with the most crucial element: your paper. For this origami bat, the paper choice can really elevate your finished model. While you *can* use standard printer paper, I highly recommend something a little more specific for the best results.
Type and Weight: Look for origami paper, also known as kami paper. This paper is specifically designed for folding. It’s usually thinner and stronger than regular paper, which makes it easier to get crisp folds and prevents tearing. The weight is typically around 70-80 gsm (grams per square meter). If you can’t find dedicated origami paper, consider a lightweight cardstock or even drawing paper, but be aware these might be a little stiffer and harder to fold precisely.
Size: For this bat, a 6-inch by 6-inch (15 cm by 15 cm) square is a great starting point. This size is manageable for beginners and results in a nicely sized bat for decorations or small gifts. You can certainly use larger or smaller squares, but you might need to adjust your expectations for the detail and dexterity required.
Single or Double-Sided: This is where you can have some fun with your bat’s appearance!
- Single-sided paper: If you use paper that’s colored on only one side (with a white or contrasting back), your bat will have white wings and a colored body, which can create a striking effect.
- Double-sided paper: For a uniformly colored bat, use paper that is colored on both sides. This is often the classic choice for a spooky black bat. You can also find papers with fun Halloween patterns on both sides, which would be amazing!
Make sure your paper is cut into a perfect square. Uneven sides will lead to crooked folds and a wonky final model. You can buy pre-cut origami squares or carefully measure and cut your own from larger sheets.
The Base Folds: Building Blocks of Origami
Before we dive into the bat itself, let’s get comfortable with two fundamental origami folds. Mastering these now will make the entire process much smoother.
The Valley Fold:
A valley fold is when you fold a piece of paper towards you, creating a crease that looks like a valley. Imagine folding a piece of paper in half so the edges meet. When you unfold it, you’ll see a crease running down the middle.
How to make it cleanly:
- Start with your paper lying flat.
- Bring one edge or corner to meet another edge or corner, or just fold it in half along an imaginary line.
- Align the edges or corners perfectly. This is key for accuracy!
- Once aligned, press down firmly along the crease line with your finger, or even use a bone folder if you have one. Start from the center and work your way outwards.
- Unfold the paper.
The Mountain Fold:
A mountain fold is the opposite of a valley fold. You fold the paper away from you, creating a crease that looks like a mountain peak. If you were to do a valley fold and then flip the paper over, that crease would now be a mountain fold from the original side.
How to make it cleanly:
- Start with your paper lying flat.
- Imagine folding the paper in half, but instead of bringing it towards you, push the paper away from you along the desired fold line.
- You might need to crease it gently first with a valley fold, then flip the paper and reinforce the crease to make it a mountain fold.
- Alternatively, some people find it easier to make a very light valley fold first, then flip the paper and press firmly along that existing line to create the mountain fold.
- The goal is a sharp, defined crease that stands out.
Practice these a few times with a scrap piece of paper. Getting crisp, precise folds is the secret to beautiful origami. Don’t rush this part; it will pay off!
Your Origami Bat: An 8-Step Journey
Now for the fun part! Get your square piece of paper ready, and let’s fold some bats!
Step 1: The Initial Diagonal Fold
Start with your square piece of paper, colored side down if you’re using single-sided paper. Bring the bottom left corner up to meet the top right corner. Make a sharp valley fold along the diagonal. Unfold the paper. Now, bring the bottom right corner up to meet the top left corner. Make another sharp valley fold. Unfold. You should now have an ‘X’ crease on your paper.
Step 2: The Horizontal Fold
Flip your paper over so the colored side is now facing up. Bring the bottom edge up to meet the top edge. Make a sharp valley fold across the middle. Unfold the paper. Now, bring the left edge over to meet the right edge. Make a sharp valley fold. Unfold. You should now have a ‘+’ crease pattern on your paper, in addition to the ‘X’.
Step 3: Forming the Waterbomb Base
This step combines your existing creases to form a fundamental origami base. Hold the paper so the colored side is facing up and you can see both the ‘+’ and ‘X’ creases. Gently push the left and right sides of the paper inwards along the horizontal crease. As you do this, the top part of the paper should naturally start to collapse downwards. Bring the top point down to meet the bottom point. You are essentially collapsing the paper along the creases you’ve made. You should end up with a smaller, flattened square. This is called a waterbomb base. Make sure all the edges are aligned and the folds are crisp.
Step 4: Folding the Wings – First Layer
Orient your waterbomb base so the open corner (the corner with four flaps) is pointing towards you. Take the top layer of the right flap. Bring the outer edge of this flap to align with the center vertical crease. Make a sharp valley fold. Repeat this on the left side, bringing the outer edge of the top layer of the left flap to align with the center vertical crease. You should now have two triangular flaps pointing upwards from the center.
Step 5: Folding the Wings – Second Layer and Body
Now, take the very top point of the paper (the point opposite the open flaps) and fold it down. The tip of this point should land somewhere around where the two diagonal folds from Step 4 meet the horizontal edge. This fold creates the bat’s body. Make a sharp valley fold.
Step 6: Shaping the Wings – The Crucial Fold
This is a slightly trickier fold, but very important. Look at the two large triangular flaps you created in Step 4. We’re going to fold these outwards. Take the right flap and fold it outwards and downwards at an angle. The exact angle will determine the shape of your bat’s wings. A good starting point is to have the edge of the wing roughly parallel to the bottom edge of the entire model. Make a sharp valley fold. Repeat this on the left side, mirroring the angle of the right wing. You should now see the characteristic bat wing shape emerging.
Step 7: Creating the Head and Ears
Turn the model over so you are looking at the side with the folded-down point. We’re going to use this point to create the bat’s head and ears. Take the tip of this point and fold it upwards. How far you fold it up will determine the size of your bat’s head. Make a sharp valley fold. Now, take the very tip of this folded-up section and fold it down just a tiny bit. This creates a small, rounded nose or forehead shape. Make a small valley fold. To create the ears, take the two points at the top of this folded section and fold them outwards slightly. These are your bat’s ears! You can adjust the angle of these to make them pointy or slightly more rounded.
Step 8: The Final Touches and Shaping
Turn your bat back over to the side with the wings. Gently curl the wings outwards slightly to give them a more three-dimensional, dynamic appearance. You can also gently bend the body to give it a little curve. You can even fold the very tips of the wings back a tiny bit to create a more detailed wing edge if you like. And there you have it – your very own origami bat!
Where Beginners Often Go Wrong (And How to Avoid It!)
Even with clear instructions, there are a few common hiccups that can trip up new folders. Don’t be discouraged if you encounter these; they’re part of the learning process!
- Not aligning edges perfectly: This is the number one culprit for wonky origami. In Step 1 and Step 2, when you bring corners or edges together, take an extra moment to ensure they line up precisely before making your crease. Even a millimeter off can compound through the later steps.
- Failing to make sharp creases: Origami models hold their shape because of crisp folds. When I say “sharp valley fold” or “sharp mountain fold,” I mean it! Don’t be afraid to press firmly along the crease line. If you’re using thicker paper, you might need to use your fingernail or even a ruler to get a defined crease. Conversely, be gentle enough not to tear the paper.
- Confusing valley and mountain folds, or paper orientation: Origami is all about precision. Pay close attention to which way the paper is facing (colored side up or down) and whether a fold needs to go towards you (valley) or away from you (mountain). If a step feels wrong, double-check the previous steps and the orientation of your paper.
Varying Your Bat: Size, Pattern, and Color
The beauty of origami is its versatility! Once you’ve mastered the basic bat, try these variations:
- Size: As mentioned, using different sized squares will result in different sized bats. A 3-inch square will make a tiny, adorable bat, while a 12-inch square will create a dramatic, statement piece.
- Paper Pattern: This is where Halloween fun really comes alive! Use paper with spooky patterns like ghosts, pumpkins, spiderwebs, or even a metallic finish. You can also use patterned paper for the wings and a solid color for the body, or vice versa.
- Color: While black is classic for a bat, don’t be afraid to experiment! Purple, deep orange, grey, or even a vibrant green can make for a uniquely festive bat. Think about contrasting colors for a bold look, or monochromatic shades for a more subtle effect.
Ideas for Displaying or Gifting Your Origami Bat
These little bats are not just fun to make; they’re also wonderful for decorating and gifting!
- Hanging Decorations: Punch a small hole in the top of the bat’s body and thread a piece of string or thin ribbon through it. Hang them from your ceiling, a chandelier, or even tree branches for a whimsical Halloween display.
- Table Centerpieces: Scatter a few bats around your Halloween-themed table setting. They add a touch of handmade charm.
- Gift Toppers: Attach a bat to the top of a Halloween gift for an extra special touch.
- Party Favors: Make a batch of bats for your guests to take home as a memorable party favor.
- Mobile Creation: String several bats together at different lengths to create a Halloween mobile.
- Window Decorations: Stick them to your windows with a bit of static cling or temporary adhesive for a spooky silhouette effect.
I hope you’ve enjoyed this origami bat tutorial! Remember to be patient with yourself, enjoy the process, and have a very happy and creative Halloween!
Conclusion
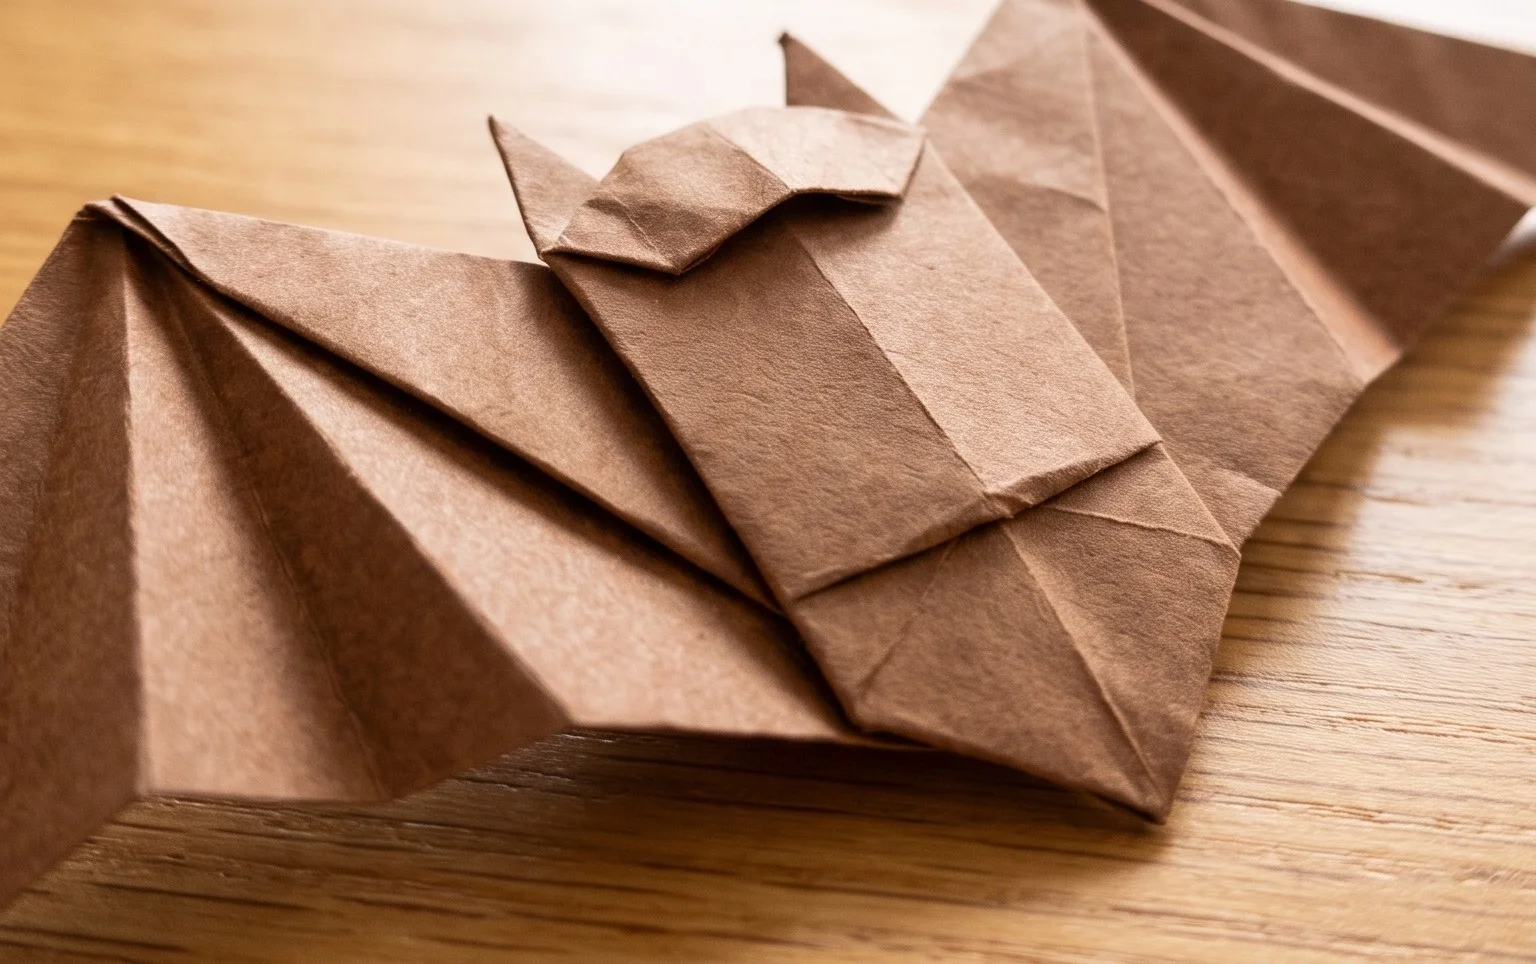
Congratulations on folding your very own Origami Bat! We hope you had a spooktacular time creating this easy Halloween paper craft. Remember, every fold is a step, and your first attempt is always a fantastic learning experience. Don’t worry if it’s not perfect – practice makes perfect! We encourage you to proudly display your creation. For more Halloween fun, try folding a ghost or a spooky spider next! And be sure to explore our other paper projects for endless creative adventures.