Forest Animals Cootie Catchers are so much fun to make! Imagine creating a colorful little paper fortune teller, but instead of silly fortunes, each flap opens up to reveal a charming forest friend like a wise owl, a curious fox, or a playful squirrel. This project is absolutely perfect for complete beginners and kids of all ages. You can whip up a whole menagerie in about 10-15 minutes each, making them ideal for a quick creative burst or even a thoughtful handmade gift!
In this easy-peasy tutorial, I’ll guide you step-by-step through the simple folding techniques needed to bring these adorable woodland creatures to life. We’ll learn how to transform a plain square of paper into a delightful interactive toy that’s sure to bring smiles. Get your paper ready, and let’s dive into the magical world of origami!
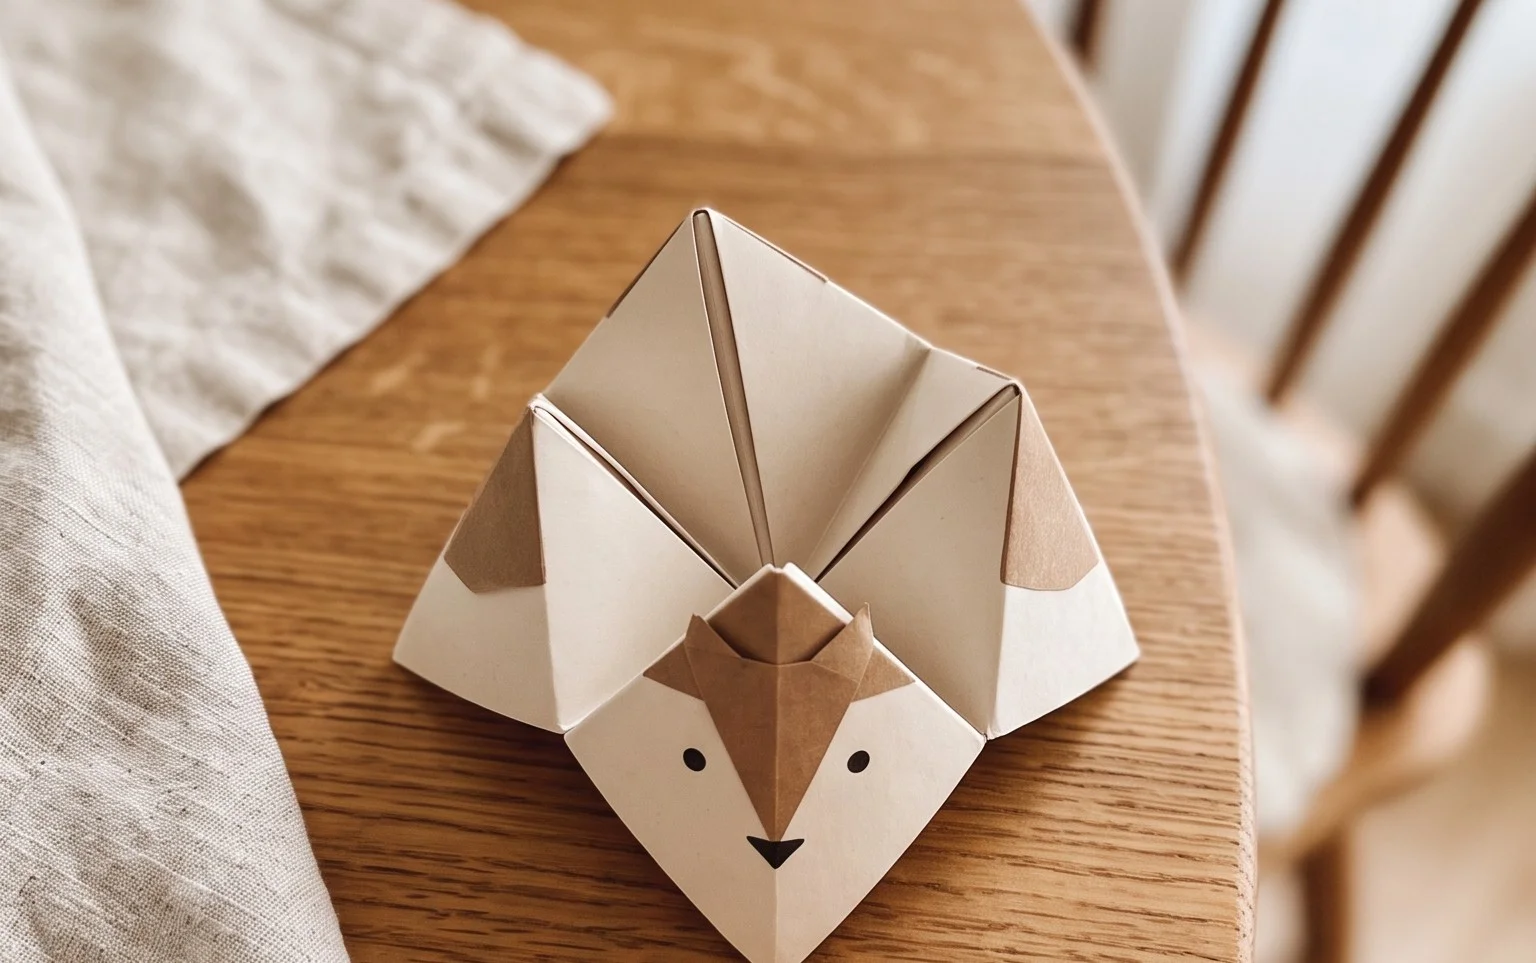
Forest Animals Cootie Catchers – Origami for Kids – Easy Peasy and Fun
Hello crafty adventurers! Today, we’re embarking on a wonderfully simple and incredibly fun origami journey to create forest animal cootie catchers. These aren’t just any cootie catchers; they’re little pocketfuls of woodland magic, perfect for hours of imaginative play. We’ll be folding up some friendly woodland creatures, and the best part? It’s super easy peasy! Let’s get started and bring some forest friends to life with just a piece of paper and our hands.
Choosing Your Paper: The Foundation of Fun
Before we dive into folding, let’s talk about the star of our show: the paper! For these cootie catchers, you don’t need anything fancy. In fact, regular printer paper is absolutely perfect.
* **Type:** Standard printer paper, also known as copier paper, is ideal. It’s readily available, easy to fold, and holds creases well. Avoid cardstock or very thin tissue paper, as they can be difficult for beginners to manage.
* **Weight:** Printer paper typically falls into the 20-24 lb weight range. This is a great weight for origami because it’s sturdy enough to create crisp folds but not so stiff that it becomes difficult to manipulate.
* **Size:** The standard size for printer paper is 8.5 x 11 inches (or A4 if you’re outside the US). This size will result in a good-sized cootie catcher that’s easy for little hands to use and decorate. If you want a smaller one, you can always trim it down, but starting with the standard size is easiest.
* **Single or Double-Sided:** You can use either single-sided or double-sided paper. If you use single-sided paper, you’ll see the white side on some parts of the finished cootie catcher. This can actually be a nice feature for writing in colours or numbers! If you have double-sided paper with fun patterns or colours on both sides, that’s fantastic too! For this tutorial, I’ll assume you’re using standard single-sided printer paper, but feel free to experiment!
The Base Folds: Building the Foundation
Most origami projects start with a few basic folds, and our cootie catcher is no exception. We need to create a perfect square first.
First, take your rectangular piece of paper and lay it flat in front of you with the longer sides running horizontally. Take the top-left corner and bring it down diagonally to meet the right edge of the paper. You should be creating a triangle shape. Smooth down the crease where the diagonal fold meets the bottom edge. You’ll have a rectangular flap hanging down below the triangle.
Now, take your scissors and carefully cut off that excess rectangular flap. Be precise here, as this ensures you have a perfect square. Unfold the triangle you just made, and you’ll be left with a beautiful square piece of paper.
With your square paper oriented so it looks like a diamond (one corner pointing up), take the bottom corner and fold it up to meet the top corner exactly. Crease this fold firmly. This is your first diagonal fold.
Now, unfold that last fold. You should see a crease running from the top corner to the bottom corner.
Next, take the left corner and fold it over to meet the right corner exactly. Crease this fold firmly. This is your second diagonal fold.
Unfold that last fold. You should now have two diagonal creases intersecting in the center, forming an “X” across your square.
Now, turn your paper over so the side you *don’t* want to be the primary colour or pattern is facing up. If you’re using plain white paper, it doesn’t matter which side is up.
Take the bottom edge and fold it up to meet the top edge exactly. Crease this fold firmly. You’ve just made a horizontal fold.
Unfold that last fold. You should see a horizontal crease across the middle of your square.
Now, take the left edge and fold it over to meet the right edge exactly. Crease this fold firmly. You’ve just made a vertical fold.
Unfold that last fold. You should now have a horizontal and a vertical crease, as well as the two diagonal creases, all intersecting in the center of your square. This is often called a “blintz base” or “preliminary base” and is super useful in origami.
The Fold Sequence: Step-by-Step Forest Magic
Now that we have our square base with all those helpful creases, let’s turn it into our cootie catcher!
1. **Prepare Your Base:** Lay your square paper flat with the side you want on the *outside* of your cootie catcher (the coloured or patterned side, if you have one) facing *up*. You should see the grid of creases you just made.
2. **Fold the Corners In:** Take each of the four corners of your square and fold them inwards so that the tip of each corner meets exactly at the center point where all your creases intersect. Make sure to crease each fold very firmly. When you’re done, your paper will look like a smaller square.
3. **Flip It Over:** Carefully flip your entire creation over so the smooth, un-creased side is now facing up. If you used single-sided paper, this side will likely be white.
4. **Fold the Corners In Again:** Just like before, take each of the four corners of this new, smaller square and fold them inwards so that the tip of each corner meets exactly at the center point. Crease these folds very firmly. You will now have an even smaller square.
5. **The Final Fold:** Now, you’re going to fold the entire thing in half. Take the bottom edge and fold it up to meet the top edge exactly. Crease this fold firmly.
6. **The Last Fold:** Now, take that folded edge and fold it in half *again*, bringing the folded edge down to meet the original bottom edge (which is now the top of the folded piece). Crease this fold very, very firmly. This creates the pockets for your cootie catcher.
You should now have a flat, folded shape with four flaps on the bottom. Gently slide your fingers into the four openings created by the last two folds. You should be able to open it up and see the coloured squares (where you folded the corners to the center). You’ve made your cootie catcher base!
Common Beginner Mishaps and How to Avoid Them
Don’t worry if your first few attempts aren’t perfect! Origami is a skill that improves with practice. Here are a couple of common spots where beginners tend to get a little stuck, and how to easily fix them.
* **Fuzzy Creases:** The most common issue is not making your creases sharp enough. If your creases are soft and fuzzy, the cootie catcher won’t hold its shape well, and it can be hard to manipulate.
* **How to Avoid:** After every single fold, run your fingernail firmly along the crease. Think of it like pressing down really, really well. For the initial square-making fold, be extra precise with your cutting. For the final folds, really push down. A bone folder, if you have one, is a fantastic tool for this, but your fingernail works perfectly fine!
* **Corners Not Meeting Exactly:** When folding the corners to the center, if they don’t meet precisely, the final shape can be a bit wonky, and the pockets might not open smoothly.
* **How to Avoid:** Take your time with these folds. Look closely at the center point. Align the tip of each corner as perfectly as you can before you crease. It’s okay if it’s not 100% perfect on your first try, but try to get as close as possible. Remember the “X” crease you made? That center point is your guide!
Varying Your Forest Friends: A Splash of Personality
The beauty of origami is its versatility! You can easily change up your cootie catchers to make them even more unique.
* **Size:** As mentioned, starting with standard printer paper is easiest. If you want a smaller cootie catcher, you can simply trim your initial square down. For example, if you start with a 6-inch square instead of an 8.5-inch square, your finished cootie catcher will be smaller. Conversely, if you want a larger one, you could use larger square paper.
* **Paper Pattern and Colour:** This is where the fun really begins!
* **Patterned Paper:** Use patterned paper from a craft store. You can find papers with leaves, trees, wood grain, or even pre-printed forest animal designs.
* **Coloured Paper:** Use coloured cardstock or construction paper for bolder colours. Just remember that construction paper can be a bit thicker and harder to crease.
* **Double-Sided Paper:** As mentioned, if you have paper that’s coloured on both sides, you can have different colours appear on the inside and outside of your cootie catcher.
* **Drawing Your Own:** Use plain white paper and let your artistic flair shine! Draw your own patterns, like leaves, flowers, or even simple animal tracks, before you start folding. Or, you can draw your forest animals on the inside squares later!
* **Inside Decoration:** Once your cootie catcher is folded, you can write numbers in the coloured squares and then write fortunes or prompts inside each flap. For our forest theme, you could write: “Hop like a bunny!”, “Roar like a bear!”, “Hoot like an owl!”, “Wiggle your nose like a fox!”
Displaying and Gifting Your Woodland Creations
Finished cootie catchers aren’t just for playing; they make wonderful little gifts and charming decorations too!
* **Gifting:** Folded cootie catchers are perfect little surprises for friends, classmates, or family. Tuck one into a lunchbox, a birthday card, or a small gift bag. They’re a thoughtful and handmade present that shows you care. You can even write special messages or “secret codes” inside for the recipient to discover.
* **Decoration:** String them together with twine or ribbon to create a unique garland for a birthday party, a classroom display, or a child’s bedroom. They add a playful and colourful touch to any space. You could also use them as part of a larger forest-themed craft project, perhaps gluing them onto a backdrop.
* **Activity Kits:** Package a few folded cootie catchers with some coloured pencils or markers in a small box or bag. It makes a fantastic, self-contained craft kit for a rainy day or a party favour.
I hope you’ve had as much fun folding these forest animal cootie catchers as I do! They are such a simple yet rewarding origami project, and the possibilities for customization are endless. Happy folding, and may your woodland adventures be filled with creativity and joy!
Conclusion
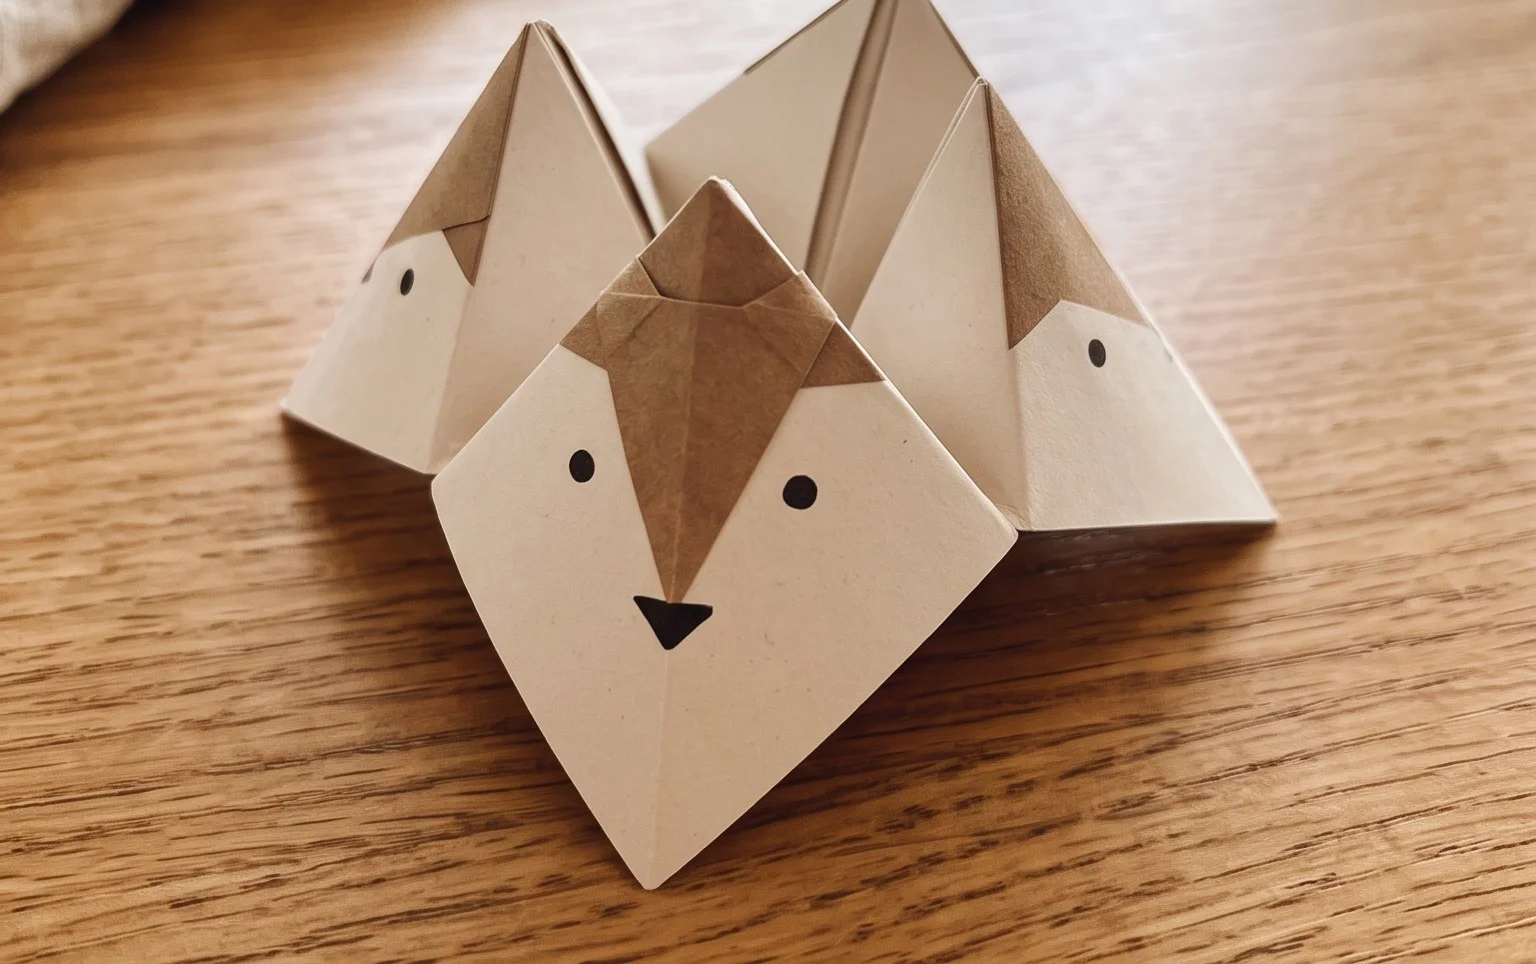
You’ve done it! Creating your own Forest Animals Cootie Catchers is a fantastic way to bring a little origami magic to playtime. Don’t worry if your first attempt isn’t perfect; every fold is practice, and you’ll get the hang of it quickly. Share your adorable creations with friends and family – they’ll love them! For your next folding adventure, try adding even more forest friends, or perhaps experiment with different color paper to make your cootie catchers unique. There are so many exciting paper projects waiting for you to discover, so keep folding and exploring!