Easy Accordion Paper Snake Craft: Step-by-Step Fun
Let’s make an Accordion Paper Snake Craft! This is an incredibly easy peasy and fun project that results in a delightful, wiggly snake. Imagine a vibrant serpent, its body made of beautifully pleated paper, ready to slither and sway with the slightest touch. This craft is perfect for complete beginners of all ages, especially kids, and makes for a charming, handmade decoration or a fun little gift. In just about 15-20 minutes, you’ll learn how to transform simple paper into this lively creation.
Get ready to practice some basic folding techniques that will bring your paper snake to life. We’ll focus on creating those signature accordion pleats that give our snake its amazing flexibility and movement. Grab your paper, and let’s have some fun bending and folding our way to a fantastic origami friend!
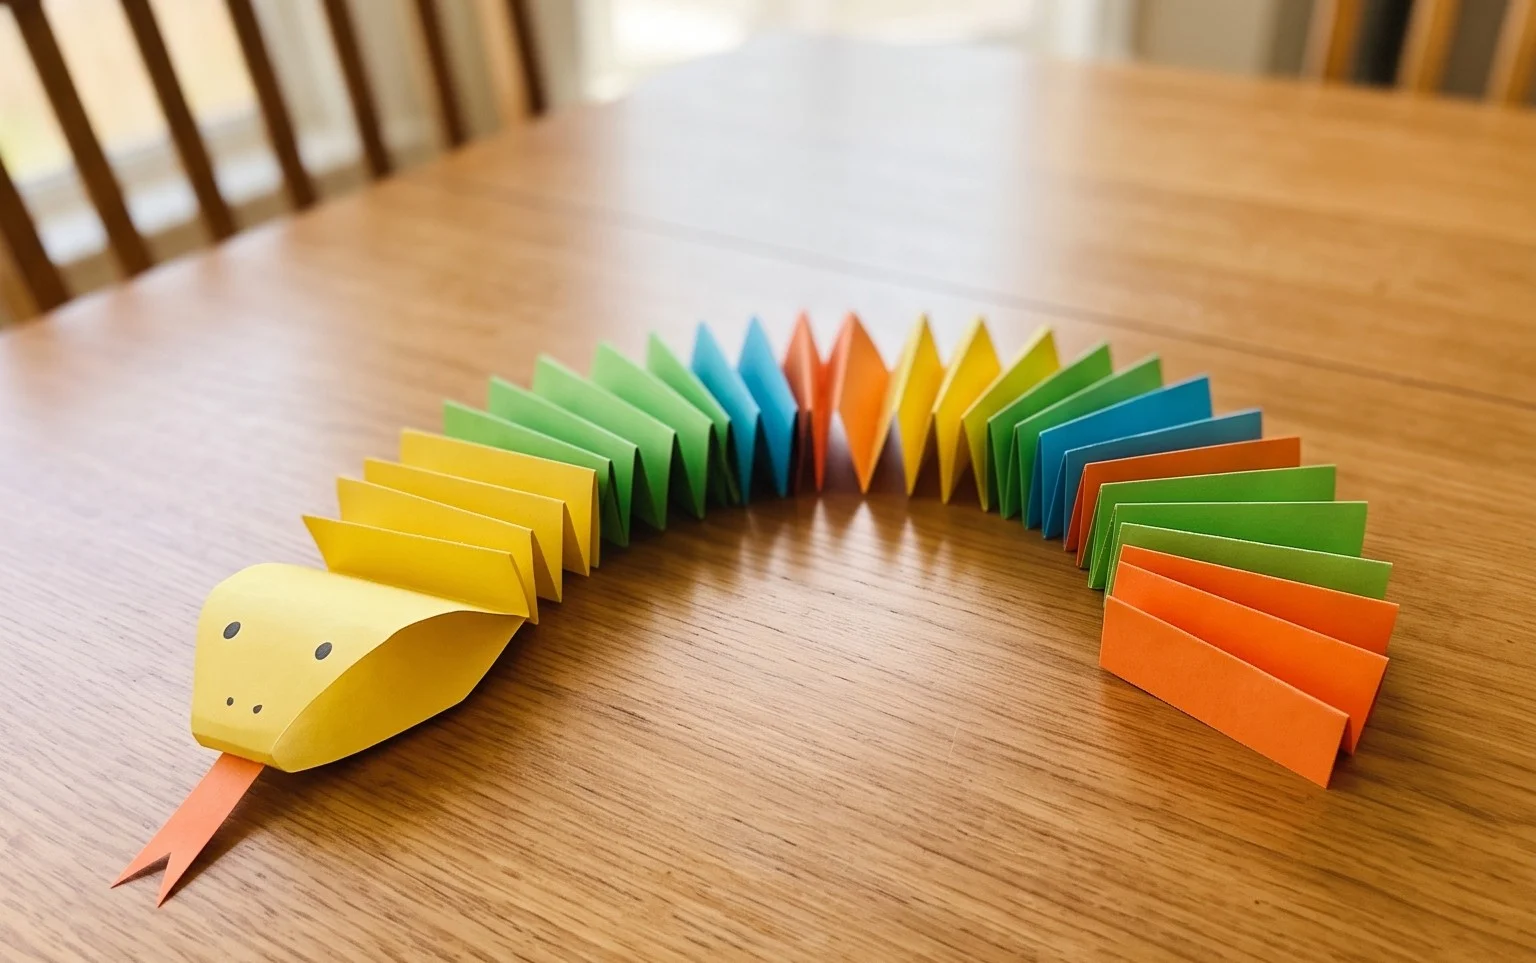
Accordion Paper Snake Craft – Easy Peasy and Fun!
Hello there, origami enthusiast! Today, we’re going to embark on a wonderfully simple yet incredibly satisfying origami adventure: creating your very own Accordion Paper Snake. This craft is perfect for beginners, a fantastic way to practice basic folds, and the result is a charming, wiggly creature that’s sure to bring a smile to your face. We’ll go through everything step-by-step, so don’t worry if you’ve never folded before. Let’s get started!
Choosing Your Perfect Paper
The foundation of any good origami project is, of course, the paper! For our accordion snake, we have a lot of flexibility, which is part of what makes this project so accessible.
Type and Weight
For this particular model, I recommend using standard origami paper. This is usually a thin, crisp paper that folds beautifully and holds its creases well. It’s often called “kami” paper. If you don’t have dedicated origami paper, regular printer paper (around 80gsm) will also work, though it might be a bit stiffer and the folds won’t be quite as sharp. Avoid cardstock or very thick paper, as it will be difficult to fold the numerous accordion pleats.
Size Matters (A Little!)
The size of your paper will directly influence the size of your finished snake. A standard origami square is 15cm x 15cm (approximately 6 inches x 6 inches). This is a great size to start with, as it’s manageable for practice and produces a nice-sized snake. You can certainly use larger squares if you want a more dramatic snake, or smaller ones for a more delicate creation. Just remember, whatever size you choose, it needs to be a perfect square.
Single or Double-Sided?
This is where you can really let your creativity shine! For a classic look, single-sided origami paper, where one side is coloured and the other is white, is perfect. This will give you a snake with a coloured body and a white underside, which can be quite striking. However, don’t be afraid to use double-sided coloured paper! This will result in a snake where both sides are vibrant, creating a fantastic effect as it wiggles. Patterned paper is also a wonderful choice, giving your snake a unique texture and personality. Just ensure the pattern isn’t too busy, as it can sometimes obscure the neatness of your folds.
The Base Folds: Building Our Foundation
Our accordion snake relies on two fundamental origami folds: the valley fold and the mountain fold. Practicing these makes all the difference.
A **valley fold** is when you fold a piece of paper *towards* you, creating a crease that resembles a valley. Imagine you’re making a tent shape; the crease is the bottom.
A **mountain fold** is the opposite: you fold the paper *away* from you, creating a crease that looks like a mountain peak. Think of the ridge of a roof.
To make these folds cleanly, it’s all about precision and pressing firmly. When you bring one edge or corner to meet another, align them perfectly before creasing. Use your fingernail or a bone folder to run along the crease, pressing it down firmly. This ensures your folds are crisp and will make subsequent steps much easier.
Your Accordion Snake: A Step-by-Step Guide
Alright, let’s get folding! We’ll start with a square piece of paper. For these instructions, let’s imagine we’re using single-sided paper with the coloured side facing up initially.
1. Begin with your square piece of paper. If you’re using single-sided paper, place it coloured side up.
2. We’re going to start by making our accordion pleats. Take the top edge of the paper and fold it down to meet the bottom edge. Align the edges carefully and make a sharp crease. Now, unfold the paper. You should have a horizontal crease running across the middle.
3. Next, take the top edge of the paper and fold it down to meet the crease you just made. Crease firmly and unfold.
4. Now, take the bottom edge of the paper and fold it up to meet the crease you just made. Crease firmly and unfold.
5. You should now see two horizontal creases in the top half of your paper and two in the bottom half. We are essentially dividing each half into three equal sections. To do this, take the top edge again and fold it down to meet the *next* crease down. Crease firmly and unfold.
6. Now, take the bottom edge and fold it up to meet the *next* crease up. Crease firmly and unfold.
7. At this point, your paper should have a series of horizontal creases, dividing it into approximately six equal sections. Now, we’re going to start the accordion fold. Take the top edge and fold it down, creating a mountain fold, so the crease lines up with the first crease you made. You’re folding the top section backwards.
8. Now, take the top edge again and fold it forwards, creating a valley fold, so the crease lines up with the second crease you made. You’re folding the next section forwards.
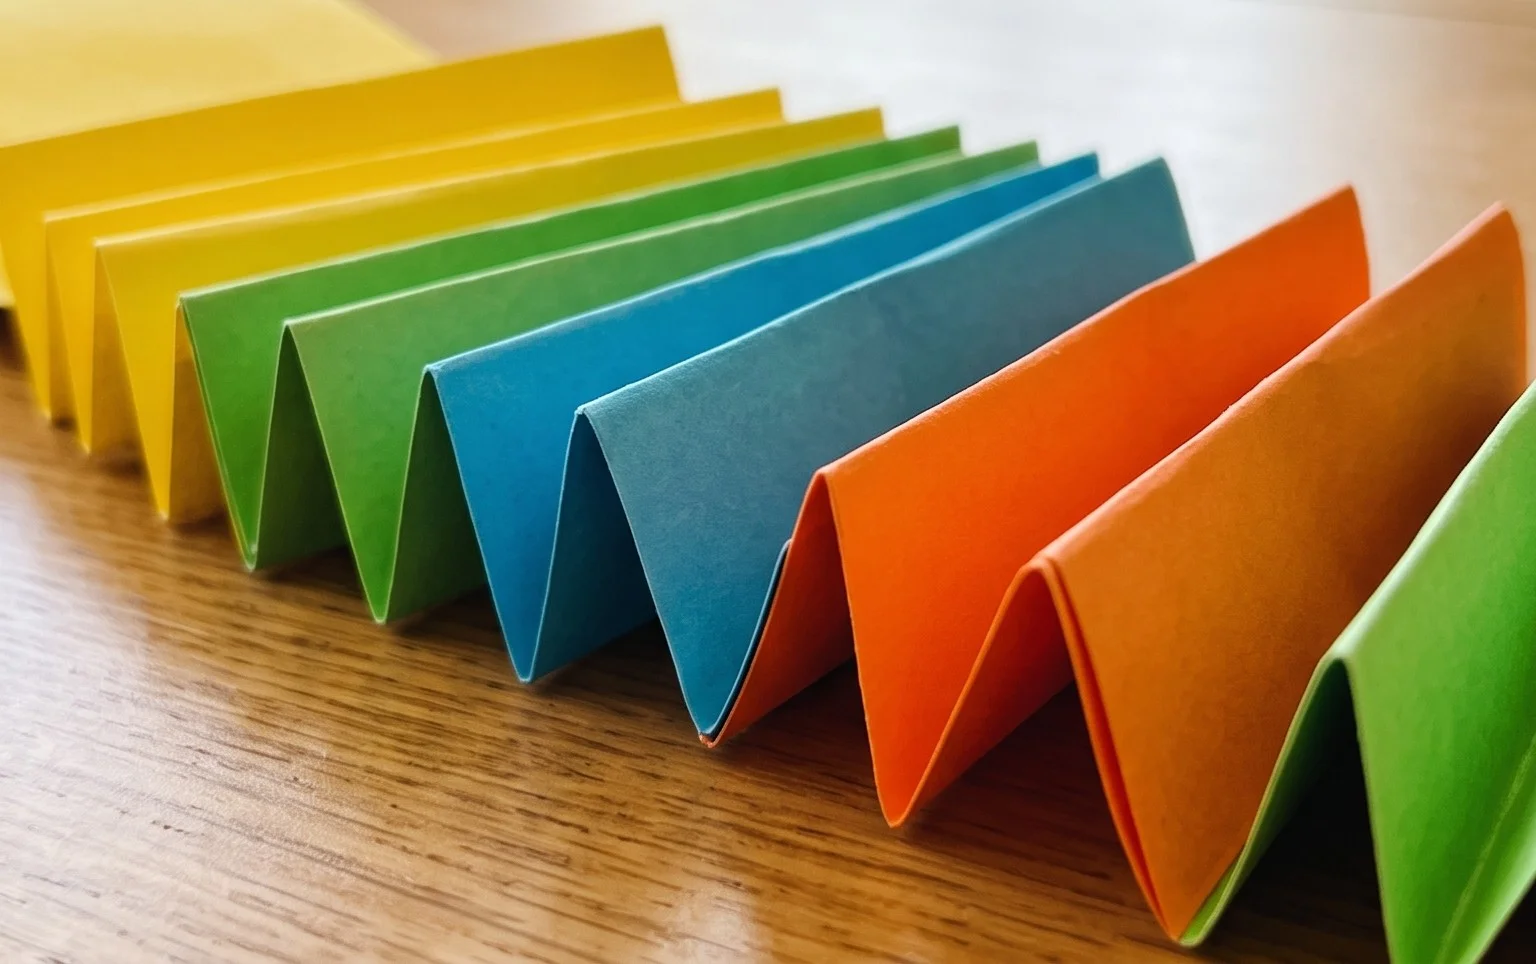
9. Continue this alternating pattern – fold backwards (mountain fold) and then forwards (valley fold) – all the way down the paper, using your existing creases as guides. When you reach the bottom, your paper should look like a collapsed accordion.
10. Once your accordion pleats are complete, take the entire pleated strip. You’re going to fold it in half lengthwise. Imagine you’re bringing the two short ends together. Crease firmly along the entire length of the folded strip. This will give your snake a more substantial body.
11. Now, we need to create the head and tail. Take one end of the folded strip. You’re going to gently pull apart the layers to create a slight fanning effect. This will be the head. You can twist this section a little to give it more shape.
12. Do the same to the other end of the strip, but this time, you’re going to give it a sharper, more pointed fold. This will be the tail. You can twist this end too, or simply pinch it to create a finer point.
And there you have it! Your very own accordion paper snake! It should have a lovely segmented body that can wiggle and sway.
Common Pitfalls and How to Avoid Them
Even with the simplest origami, it’s easy to run into a few snags. Here are some common places beginners might go wrong and how to steer clear of them:
* **Uneven Accordion Pleats:** This is probably the most common issue. If your pleats aren’t the same width, your snake will look a bit lopsided and won’t wiggle as smoothly.
* **How to avoid it:** The key is precision in step 2 through 6. Make sure you are consistently folding to the existing creases and creasing firmly. Measure if you need to! You can lightly fold your paper into six equal sections initially without creasing too hard, just to get a feel for where the lines should be, and then go back and make your firm creases. Another tip is to start from the centre and work outwards with your folds.
* **Loose Creases:** If your creases aren’t sharp enough, the accordion pleats won’t hold their shape, and your snake will look floppy rather than structured.
* **How to avoid it:** This goes back to the importance of firm creasing. Use your fingernail, or even the edge of a ruler or a bone folder if you have one, to really press down along each fold. Don’t be afraid to apply pressure!
* **The Head and Tail Get Lost:** Sometimes, when creating the head and tail, the folds can become too flattened or not distinct enough.
* **How to avoid it:** For the head, focus on gently separating the layers to create a soft, fanned-out shape. For the tail, aim for a more deliberate pinch or a sharper point. Don’t over-flatten these sections; they should stand out a little from the main body. You can even add a slight curve to the head or tail by gently bending the paper.
Varying Your Snake’s Style
The beauty of origami is its adaptability! Here are some ways you can personalize your accordion snake:
* **Size:** As mentioned earlier, simply start with a larger or smaller square piece of paper to make a bigger or smaller snake. This is a great way to create a whole family of snakes!
* **Paper Pattern:** Experiment with different patterned papers! Floral patterns, geometric designs, even wrapping paper (if it’s not too thick) can give your snake a unique look. Consider traditional Japanese Washi papers for a touch of elegance.
* **Colour Combinations:** If you’re using single-sided paper, try flipping it over and starting with the white side up for a different colour scheme. Using double-sided paper with contrasting colours on each side can create a vibrant, multi-hued snake. You could even use different coloured papers for different snakes to make them distinct.
* **Adding Features:** Once you’ve mastered the basic fold, you could try drawing eyes on the head with a fine-tip marker, or even adding tiny paper antennae!
Displaying and Gifting Your Slithery Friend
Your finished accordion paper snake is more than just a craft; it’s a little piece of art!
* **Desk Buddy:** Place your snake on your desk as a cheerful companion while you work or study. Its wiggly body can provide a satisfying fidget toy.
* **Party Decorations:** Make a whole bunch of snakes in different colours and sizes to string together as a garland for a party. They’d be particularly fun for a jungle-themed or science-themed celebration.
* **Mobile Creation:** Hang several snakes from a coat hanger or a small branch to create a charming mobile.
* **Gift with a Twist:** Origami is a wonderful handmade gift. Tuck a paper snake into a card, place it in a gift box, or even use it as a bookmark. It’s a thoughtful and unique gesture that shows you’ve put in time and effort.
* **Science Lesson:** Talk about the accordion fold as a way of compressing and expanding space, which has applications in science and engineering (like in telescopes or robotic arms).
I hope you’ve enjoyed creating your Accordion Paper Snake! It’s such a rewarding project, and with a little practice, you’ll be folding them with ease. Happy folding!
Conclusion
Congratulations! You’ve just created your very own Accordion Paper Snake. We hope you had a fantastic time making this easy peasy and fun craft. Don’t worry if your first attempt isn’t perfect – every fold is a learning experience, and practice makes progress! Show off your slithery creation to friends and family. For a different look, try using patterned paper or even making a longer, multi-sectioned snake by connecting several accordion folds. Feeling inspired? Dive into more wonderful paper projects and keep that creative spirit alive!
