Easy Origami Bat Tutorial: Steps Halloween Craft
Origami Bat: Easy Halloween Paper Tutorial is the perfect project to get you into the spooky spirit! Imagine a cute, slightly mischievous bat, ready to hang from the ceiling or perch on your bookshelf, complete with pointed ears and a delightful flapping wing silhouette. This simple fold is absolutely perfect for complete beginners and kids alike, making it an ideal craft for a quick Halloween decoration or a fun handmade gift. You’ll be amazed at how quickly you can transform a flat piece of paper into this charming creature – we’re talking about just 8 easy steps, likely taking you less than 15 minutes! In this tutorial, I’ll guide you through each fold, showing you how to create those iconic bat wings and a distinguished little head. Let’s get folding and bring this adorable origami bat to life!
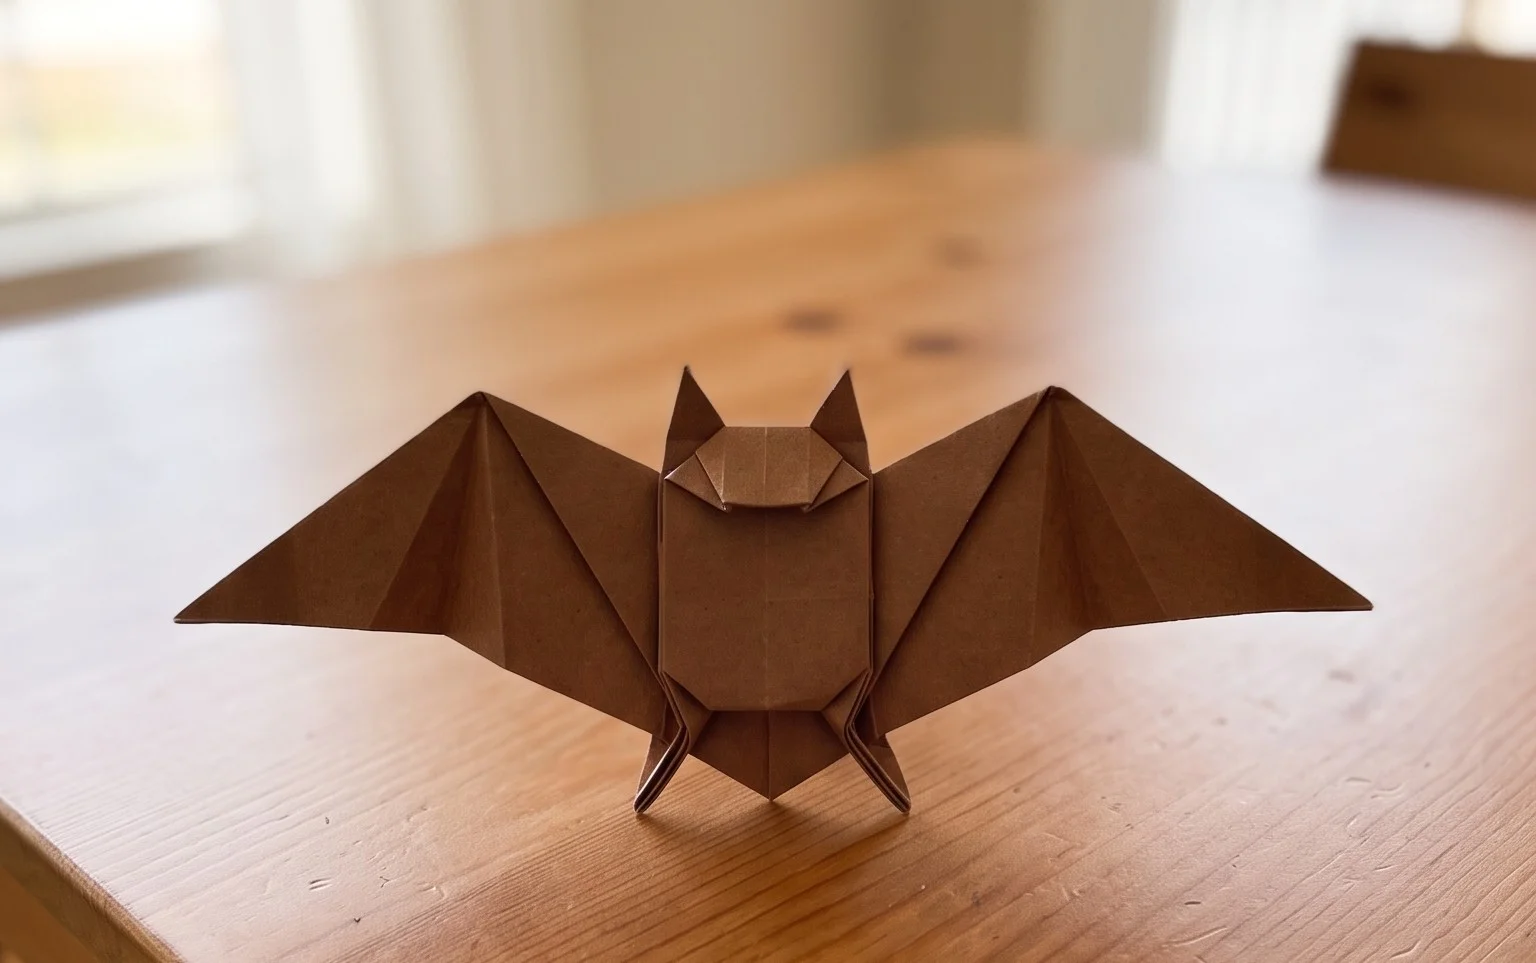
Origami Bat: Easy Halloween Paper Tutorial In 8 Steps
Hey there, fellow paper adventurers! Are you ready to add a touch of spooky charm to your Halloween decorations? This year, we’re diving into the magical world of origami to create our very own flying friends – bats! This origami bat is designed to be super easy, perfect for beginners, and it only takes 8 simple steps. No intricate folds, just straightforward fun that will have you folding a whole colony in no time. Let’s get started on our Halloween crafting journey!
Choosing Your Paper Powerhouse
The first step in any origami project is selecting the right paper. For our adorable origami bat, you don’t need anything too fancy, but a little attention to detail here will make your folding much smoother and your final bat look fantastic. Let’s talk about what works best:
- Type of Paper: For this beginner-friendly bat, standard origami paper is ideal. It’s thin, strong, and holds creases beautifully. If you don’t have dedicated origami paper, plain printer paper will work in a pinch, but it can be a bit stiffer and might make some of the finer folds a little harder to manage. Avoid cardstock as it’s too thick for this model.
- Weight: Origami paper typically ranges from 60-80 gsm (grams per square meter). This weight is perfect because it’s thin enough to fold neatly but sturdy enough to maintain its shape. If you’re using printer paper, aim for something around 70-80 gsm.
- Size: For your first few bats, I recommend starting with a square piece of paper that is at least 6 inches (15 cm) by 6 inches (15 cm). This larger size gives you plenty of room to practice the folds without feeling cramped. Once you get the hang of it, you can experiment with smaller sizes (like 3 inches by 3 inches) for creating a whole swarm!
- Single or Double-Sided: This is where you can get creative!
- Single-Sided Paper: If you have traditional origami paper that’s white on one side and colored on the other, this is perfect for a classic bat look. We’ll start with the colored side facing down. This will result in a bat with colored wings and a white belly, which I think is quite charming.
- Double-Sided Paper: If you have paper that’s colored on both sides, you can use that too! Your bat will simply be the same color all over, which can also look very striking, especially in deep blacks or purples.
- Patterned Paper: For a unique twist, try patterned origami paper! Halloween-themed patterns, subtle textures, or even a simple geometric design can make your bat truly stand out. Just make sure the pattern isn’t too busy, or it might overwhelm the shape of the bat.
Mastering the Base Folds: Your Origami Foundation
Before we jump into the bat steps, let’s make sure we’re comfortable with a couple of fundamental origami folds. Clean, crisp folds are the secret to a beautiful finished model, and they make following the steps much easier.
- The Valley Fold: This is the most basic fold. Imagine folding a piece of paper in half towards you, creating a “valley” shape in the crease. When you unfold it, the crease will look like a valley. For our bat, we’ll be making many valley folds. When I tell you to “fold X to Y,” and the paper is facing a certain way, think of folding it so the crease appears on the side of the paper that is currently facing you.
- The Mountain Fold: This is the opposite of a valley fold. Imagine folding a piece of paper in half away from you, creating a “mountain” peak in the crease. When you unfold it, the crease will look like a mountain. Sometimes, after making a valley fold, you might need to reverse it into a mountain fold. This is usually done by creasing in one direction and then folding the paper back in the opposite direction along that same crease.
Tip for Clean Folds: When making a fold, use your fingernail or a bone folder (if you have one) to firmly press along the entire length of the crease. Start from the center of the fold and work your way outwards. This ensures a sharp, defined line that will make subsequent steps much easier.
Your 8-Step Origami Bat Adventure
Alright, paper ready? Let’s transform this flat square into a spooky little bat! We’ll assume you’re using single-sided paper with the colored side facing up for now. If you’re using double-sided paper, just pick a side to be your “outside” and keep that facing up.
- Step 1: The Diagonal Divide
Start with your square paper, colored side up. Take the bottom right corner and bring it up to meet the top left corner. Press down firmly along the crease you create. Now, unfold the paper completely. You should have a diagonal crease running from the top left to the bottom right. Now, pick up your paper and rotate it 90 degrees counter-clockwise, so that the crease you just made is running from the bottom left to the top right. Now, take the bottom left corner and bring it up to meet the top right corner. Press down firmly along this new crease. Unfold the paper completely. You should now have two diagonal creases forming an ‘X’ on your paper.
- Step 2: The Center Crease Creation
With your paper still colored side up and the ‘X’ creases visible, bring the bottom edge of the paper up to meet the top edge. Press down firmly along the horizontal crease you create. Unfold the paper. Now, flip your paper over so the white side is facing up. Bring the left edge of the paper over to meet the right edge. Press down firmly along the vertical crease you create. Unfold the paper. You should now have four creases: two diagonals forming an ‘X’ and a horizontal and vertical line crossing in the center.
- Step 3: The Preliminary Base (The Square Base)
This step might look a little tricky, but trust the creases! With the white side still facing up, push the left and right edges of the paper inwards along the vertical crease. As you do this, the top section of the paper will naturally want to collapse downwards along the diagonal creases you made earlier. Bring the top point down to meet the bottom point. You should end up with a smaller square. This is called a preliminary base, or sometimes a square base. Make sure all the layers are neatly aligned.
- Step 4: Kite Folding the Flaps
Now, turn the square base so that the open end (where the four flaps meet) is pointing towards you. Take the top layer of the right flap and fold its bottom edge inwards so it aligns with the center vertical crease. Crease this fold firmly. Now, do the same for the top layer of the left flap: fold its bottom edge inwards to align with the center vertical crease. Crease firmly. You should now have a kite shape on the top layer.
- Step 5: Flipping and Repeating the Kite
Flip your entire model over to the other side. Repeat Step 4 on this side: take the top layer of the right flap and fold its bottom edge inwards to align with the center vertical crease. Crease firmly. Then, take the top layer of the left flap and fold its bottom edge inwards to align with the center vertical crease. Crease firmly. You should now have a kite shape on both sides of your model.
- Step 6: The First Wing Fold
Look at the top of your model. You’ll see a pointy section with two “legs” sticking out. We’re going to fold one of these legs up. Take the right flap (which is the point of the kite shape on the right side) and fold it upwards. The fold should start from the bottom corner where the two flaps meet and go diagonally upwards. Fold it so that the bottom edge of this flap is now aligned with the center vertical crease. Crease firmly. This is starting to look like a wing!
- Step 7: The Second Wing Fold and Head Shaping
Flip your model over. Repeat Step 6 on this side: take the right flap and fold it upwards so its bottom edge aligns with the center vertical crease. Crease firmly. Now, look at the two “legs” sticking out at the bottom. We need to shape these into the bat’s wings. Take the entire model and fold it in half away from you, along the center vertical crease. This brings the two folded-up flaps (our potential wings) together. Now, take the bottom point of the model (which is now folded in half) and fold it upwards. This will be the bat’s head and body. You can fold it up about an inch or so, or as much as you like to give your bat a nice plump body. Crease firmly.
- Step 8: Final Touches and Wing Creases
You’re almost there! Your bat is starting to take shape! Now, let’s refine the wings. Gently pull the two large flaps (the ones you folded up in steps 6 and 7) outwards and slightly downwards. You can experiment with the angle here to get the wing shape you like. For a classic bat look, I like to fold a small crease at the top of each wing, about halfway down the wing, to give it a little curve. To do this, gently bring the outer edge of the wing inwards a little, about a quarter of an inch, and press a small crease. Unfold it. Do this on both sides. You can also gently pull the “head” section forward a little to give your bat a nose. And there you have it – your very own origami bat!
Common Pitfalls and How to Sidestep Them
Even with simple origami, there are a few spots where beginners commonly stumble. Don’t worry, it happens to everyone! Knowing these ahead of time will save you frustration.
- Messy Center Crease in Step 3: The preliminary base (square base) in Step 3 relies on accurate creases from the previous steps. If your diagonal and center creases aren’t sharp and precise, getting the paper to collapse neatly into the square can be a challenge.
- Avoidance: Go back and make sure your diagonal creases in Step 1 are really sharp. When you flip the paper and make the horizontal and vertical creases in Step 2, press those down firmly too. When you start pushing the sides in for Step 3, work slowly and let the existing creases guide the paper. Don’t force it.
- Uneven Kite Folds in Steps 4 & 5: When folding the edges to the center line in the kite fold, if one side is significantly higher or lower than the other, or if the edge isn’t perfectly aligned with the center crease, your bat’s wings might end up lopsided.
- Avoidance: Take your time in these steps. Look closely at your paper. Ensure the edge you are folding is *exactly* meeting the center crease. It’s better to make a slightly less sharp fold that is perfectly aligned than a super sharp fold that’s a little off.
- Forcing Folds or Ripping Paper: Sometimes, especially if the paper is a little thicker or you’re not used to origami, you might feel like you have to force a fold. This can lead to tears or weak creases.
- Avoidance: Always use thin, good-quality origami paper if possible. If using printer paper, ensure it’s not too old and brittle. Be gentle! Origami is about guiding the paper, not wrestling it. If a fold feels too stiff, double-check that you’ve made all the preceding creases cleanly and that the paper is oriented correctly.
Varying Your Bat Brigade: Size, Pattern, and Color
Once you’ve mastered the basic bat, the fun really begins! Here’s how you can customize your creations:
- Size: As mentioned, starting with larger paper is easier. But once you’re confident, try smaller squares. A 3-inch (7.5 cm) square will make a tiny, adorable bat perfect for scattering around your home or adding to a gift tag. A larger 12-inch (30 cm) square will create a statement bat that can be hung as a decoration.
- Paper Pattern: Get creative with your paper choices!
- Halloween Prints: Look for paper with ghosts, pumpkins, spooky swirls, or even tiny bats on it. This will instantly amplify the Halloween theme.
- Textured Paper: Some origami papers have a subtle texture, which can add a nice tactile quality to your bat.
- Metallic or Glitter Paper: For a bit of Halloween magic and sparkle, consider metallic or glitter origami paper.
- Color: While classic black is always a winner for bats, don’t be afraid to explore other colors!
- Deep Purples and Oranges: These are classic Halloween hues and look fantastic for bats.
- Earthy Browns and Greys: For a more naturalistic or gothic feel.
- Glow-in-the-Dark Paper: How cool would a colony of glowing bats be?!
Displaying Your Eerie Emissaries and Gifting Ideas
Now that you have a flock of origami bats, what do you do with them? Here are some ideas:
- Spooky Garland: Punch a small hole at the top of each bat and thread them onto string or twine to create a festive garland. Hang them across doorways, windows, or mantels.
- Tabletop Decorations: Place them on your Halloween buffet table, scattered amongst candy dishes, or perched on bookshelves.
- Window Displays: Tape them to windows with a little bit of clear tape. They look especially effective at dusk when you can see them from both inside and out.
- Ceiling Mobiles: Hang them from the ceiling with fishing line or thin thread at varying lengths for a truly spooky effect.
- Gift Embellishments: Attach a bat to the top of a Halloween treat bag or a gift box for a handmade, festive touch.
- Party Favors: If you’re hosting a Halloween party, small origami bats make unique and memorable party favors for your guests to take home.
- Creepy Centerpieces: Arrange a cluster of bats around a pumpkin or a vase filled with spooky branches for a striking centerpiece.
Folding origami bats is such a satisfying way to get into the Halloween spirit. They’re quick, easy, and endlessly customizable. So grab your paper, make those crisp folds, and let your creativity take flight! Happy folding, and have a wonderfully spooky Halloween!
Conclusion
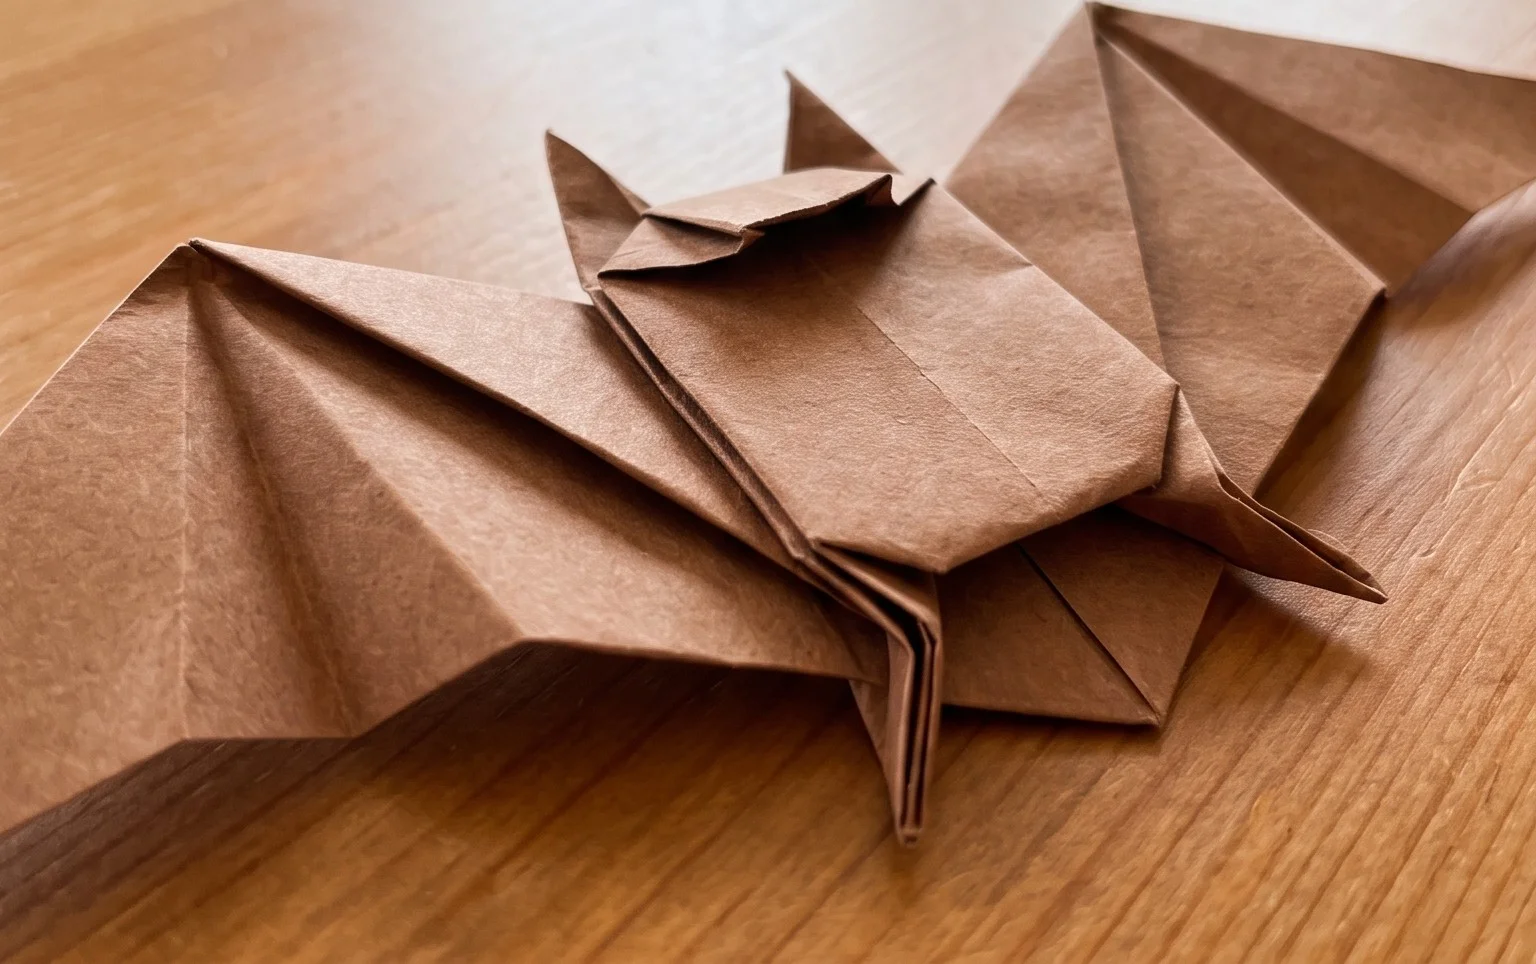
Congratulations on folding your very own origami bat! We hope you had a fantastic time creating this fun and easy Halloween paper craft. Don’t worry if your first attempt isn’t perfect; every fold is a step in learning, and practice makes our origami bat creations even better. We’d love to see your finished masterpiece, so feel free to share it with friends and family!
Ready for more spooky fun? Try making your origami bat in different colors, or perhaps add googly eyes for an extra touch of personality. And when you’re ready for your next paper adventure, explore our other exciting tutorials!
